I'm so excited to Show you the Christmas Card designs that Karah Couch Photography is offering this year. Anyone who has a photography session with me between now and Christmas will have to opportunity to purchase these fully customizable Christmas Cards, that includes Mini Sessions. Sets of 25 Cards are $50. Take a look!
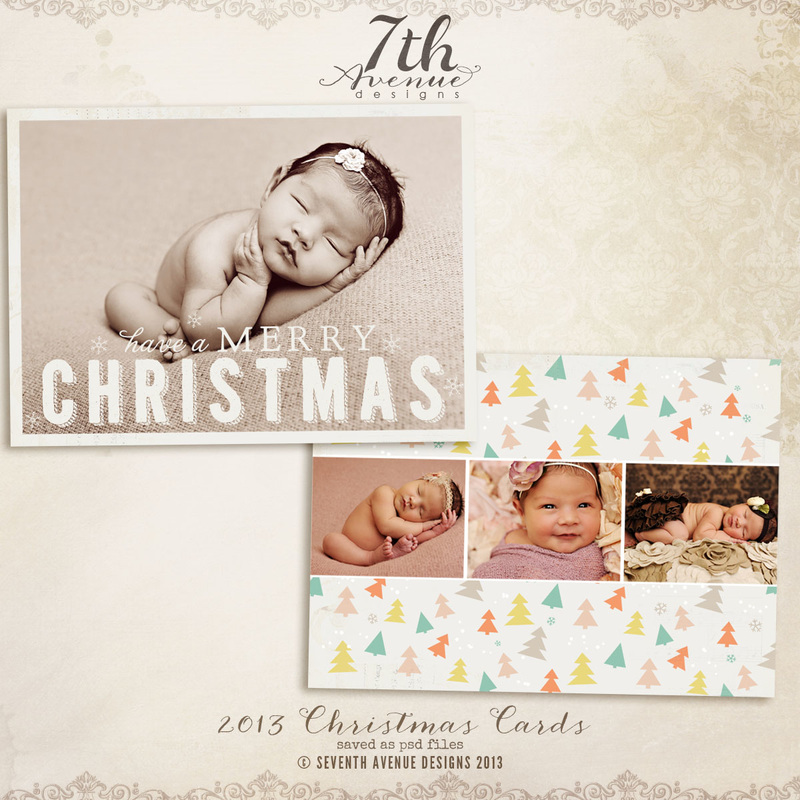
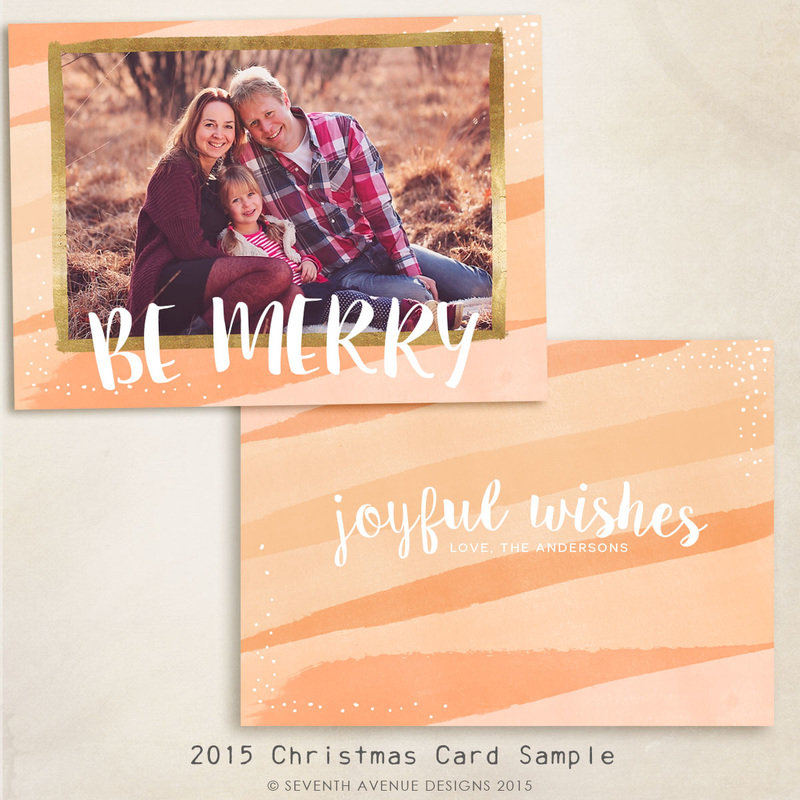
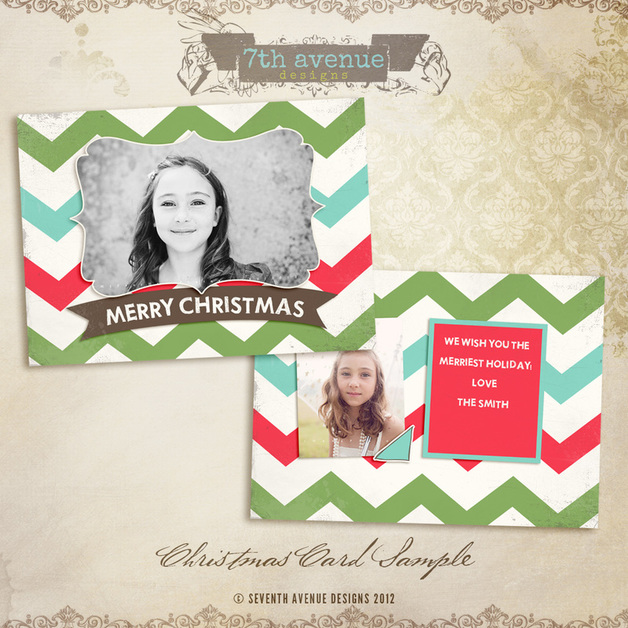
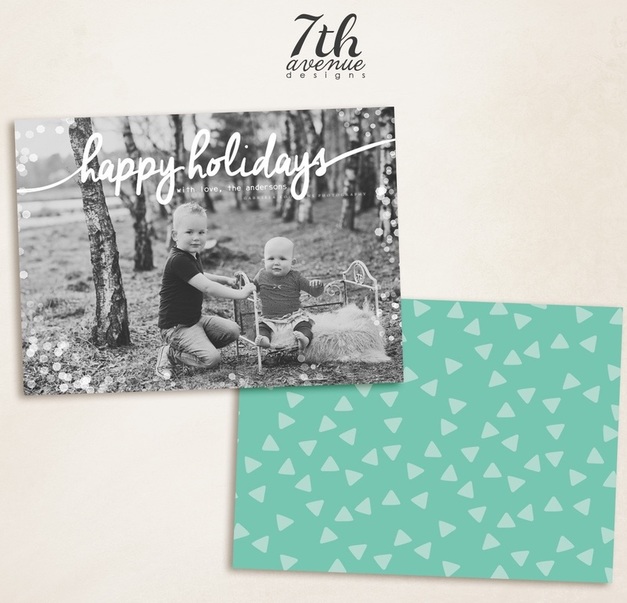
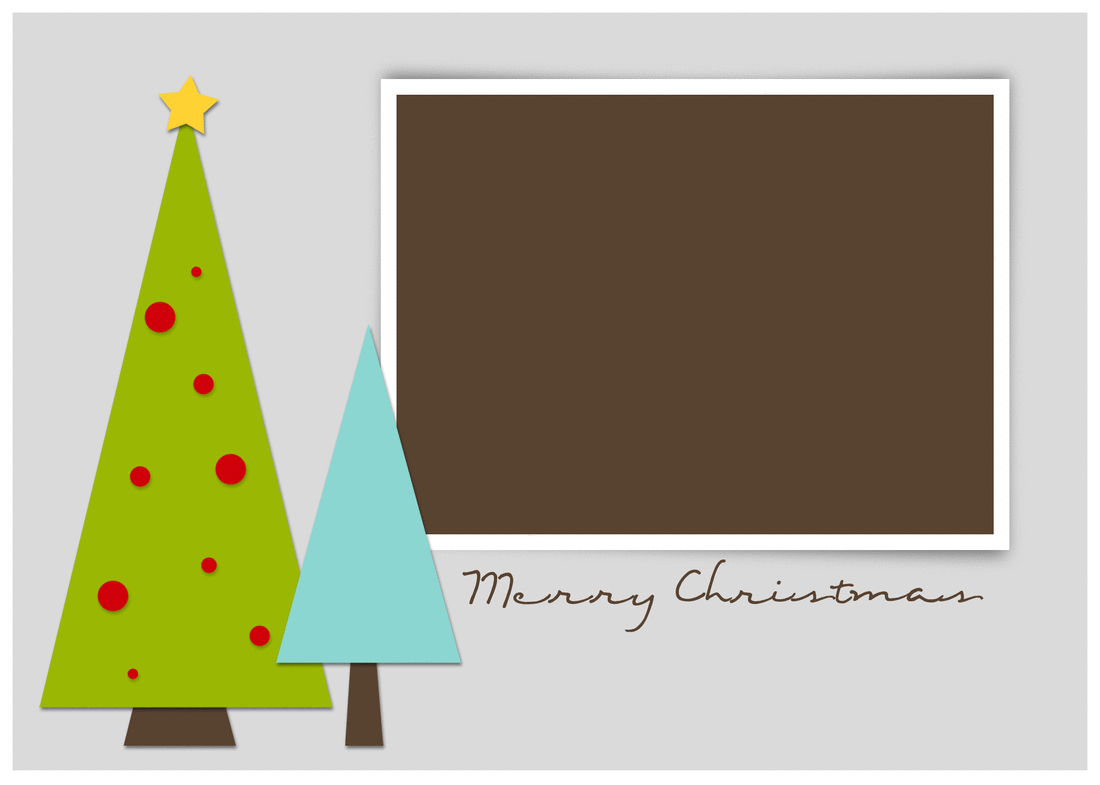
Designs By 7th Avenue
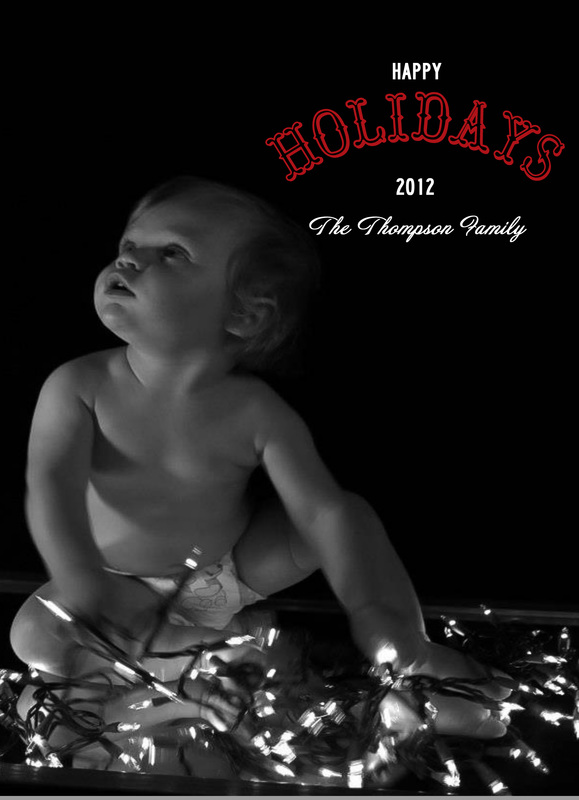
Design by mandagirl
Design by The Album Cafe
So everybody, book your Portrait Sessions today so you can be sure to get your cards in time to mail them out for Christmas
I was lucky enough to shoot a newborn session for little Aiden in Citrus Springs recently and he was such a cutie I just had to share. He was a little grumpy at first but with a some help from me and mommy he eventually calmed down. Aiden has two older older brothers who just adore him.
We all want to have the best photos possible of ourselves and our families and the first step to that is hiring a great photographer. After that there are some things you can do to make sure you get exactly what you're looking for.
Location
The number one question most people have is "where will we take our photos?" Of course, some clients book an appointment knowing exactly the spot they want their photos taken. If that's you, that's great! If not there are a few things to think about.
Urban, Natural, or Studio A Natural area is something like a field, beach, or forest area. Natural backgrounds are great for capturing interaction between families. They're simple and draw focus to the person or people in the image. The Golden hour is the best time to take photos in a natural setting
Urban areas are alleys and cool buildings. They add texture and dimension to your photos and you tend to get more variety in your background. Urban areas are great for families and senior portraits, not so much for babies.
A portable studio can be set up in your home with a white or black background. Studio shoots can be done anytime of day since they are lit artificially. I do not recommend studio sessions for family portraits since they look a bit dated but they can be great for babies and are an absolute must for newborns
Once you've decided What type of setting you want you may get some ideas about where you want your session to be. If you don't, don't worry. I have a pretty extensive list of great places to shoot photos so you can let me know what type of setting you want and I can choose the perfect location near you.
What to Wear
Few elements in planning your photography session are agonized over more than what to wear. My number one piece of advice is Coordinate, Don't match. You don't have to wear the same outfit. For many years that was the portrait photography style, everyone wears matching outfits usually black or white. Since then things have loosened up. There are no hard rules about what you must wear but there are a few guidelines to follow. Make sure the type of clothes everyone is wearing goes together. If some of your are dressy, you should all be dressy. If some are casual, you should all be casual. As for colors the main thing is not to clash with each other. Try laying out all the outfits next to each other to see how they look together. Some helpful tips are to avoid overly bright colors a lime green or hot pink is going to overwhelm you in a photo. You want people looking at you, not your clothes. If you're the kind of person who has trouble deciding if colors go well together or want to be absolutely sure they will look good, heres a little trick. The good old color wheel.
Colors across from each other look good together. Choose two colors from the wheel and a neutral like brown, black, white, or tan. Now, not everyone should wear all of these colors. Try having each person wear some combination of the colors so that when the group is all together we get them all. Or if you're really into choosing your colors try visiting this site for a really fun way to get color ideas that all look great together.
Kids
We want to capture your child's personality not just big cheesy smiles. So don't worry if it takes a little while for them to warm up. I recommend making sure they eat right before your sessions so they don't get hungry in the middle of it. Bring an extra outfit and a favorite toy. You never know what could happen during a shoot that could mess up that perfect outfit you picked out. A child could trip and get dirty or if we're talking about babies we could have a spit up or blowout situation so make sure you have a backup. For young Children a photo shoot can be a bit scary at first. Some stranger is pointing this big machine at them. So bring along a favorite toy for comfort, we may not need it but it can help.
During the Session
The Length of your session will be determined by which package you choose but its important to not try to rush through it. I want to make sure that your photos are the best they can be which means a lot of attention to detail. Sometimes I also like to hang back a bit sometimes and let you interact with each other or let children play. Sometimes the best photos are the candid ones.
After Your Session
Okay! so we took your photos and had lots of fun, now what? It will take around two weeks for your photos to be ready to be viewed. What am I doing during these two weeks? Well, I may have other photo sessions but I'll also be editing and retouching your photos. While I don't do extensive retouching generally, there are some things that need to be done to every photo to make them look their best. A bit or color correction and smoothing can make a world of difference so it really is worth the wait.
Buying Your Photos
Choosing your photos is not easy. Not only can it be difficult to choose between images, deciding on products can be even harder. I come to your home and sit down with you to help you sort all that out for no extra fee. We'll go through your photos together and talk about how you hope to display them, where you want to put them, if you like flat prints or canvas. If you'd like an album and if so what kind. You can even invite other people over to help or buy some for themselves (grandparents) While it may seem like a pain to set up another appointment trust me when I say that in my experience, clients are much happier when they've had a little help.
So now that you're prepared, Book an Appointment today
The little ones and I headed out to Dunnellon on Sunday to visit The Pickin' Patch a local pumpkin farm and it did NOT disappoint. First I just want to say that as per The Pickin' Patch's rules professional photography shoots are not allowed so this is simply my own personal opinion that I thought a lot of my clients (being parents) would appreciate. The Pickin' Patch has tons of activities for little ones to enjoy, a hay ride, slides, hedge maze, corn maze, sunflowers, all kinds of things
But for my little ones nothing held a candle to simply walking through the rows of vines looking for pumpkins. Not only do they have traditional orange pumpkins but they have tons of interesting looking ornamental pumpkins of all sizes. like this one that my son just had to hug.
Although The Pickin' Patch is very busy there is so much room to spread out that once you're inside you really don't feel like you're in a crowd which is especially good for young children who might not want to be shoulder to shoulder with strangers. We spent hours at The Pickin' Patch and my little ones (who are just under two) were not bored once. I would absolutely recommend it to other parents. Once you've been to The Pickin' Patch you'll never want to go to anything other than a real pumpkin farm again
Of course there are some times when hiring a professional is really the best way to go, big milestones like a newborn shoot, birthdays, and what have you. But unless you're Beyonce you can't have a photographer with you every day, sometimes you're going to have to take them yourself. So, no matter what your skill level is, follow this list and you'll be sure to get great photos of your kids at home.
1. Get Outside if you can!! you really can't beat good old natural light so get out there and take some shots. Its best to take photos outdoors during whats called The Golden Hour (one hour after sunrise and one before sunset) but other times of day are great too just try to be out of direct sunlight in the shade. 2. Step away from the FLASH! Whether you're in low light inside or dark shade outside you're camera may want to use flash, do not do it! flash is ugly, it flattens the image and blows out detail. Take the photo below.
Doesn't look so good huh. She's overly bright, the background is overly dark, overall its just kinda bleh. Of course, there are times when flash is necessary and things you can do to make it look good like bounce it off of a reflective surface but if its the pop-up flash on your camera its probably going to look bad.
3. Shoot near a window! So you can't go out side, no problem, shoot near a window you'll still get the benefit of natural light only indoors. set up with the Window in front of or beside your little one for good lighting on their face or with the window behind them for a nice silhouette effect
4. Know your Camera!
But won't my photos be too dark without the flash? And by the way, how do I turn the flash off anyway? No and I'm not sure, all cameras are different. So break out the manual or look up tutorials online and learn how to use your camera, how to change your settings, what all the abbreviations on it mean, how to turn your flash off, all that. You won't regret learning and you'll have some basic knowledge so the rest of this will be easy peasy. 5. Set your White Balance! Your white balance is what tells your camera what color the light is where you're taking photos. Sure there's an auto setting on it but my experience is, your photos look better if you tell it where you are. Most cameras have AWB (auto white balance), Daylight (Bright Sunlight), Shade (pretty self explanatory), Cloudy, Flash (you're using a flash), White Fluorescent light, and Tungsten Bulb (a normal light bulb) Choose the one that matches the conditions you're in
6. ISO!
Set a low-ish ISO. The ISO is basically a standard of how sensitive your camera is going to be to light. The Higher the ISO the more sensitive it is to light meaning the photos will be brighter in lower light. That sounds great except that the higher the ISO the more noise. noise is how grainy an image will appear. So, the best course of action is to set the lowest ISO you can while still having enough light. How will you know how low you can go? read on! From this point on I'm going to separate readers into two sections, Beginner and Experienced. If you're a beginner keep reading, if you're more advanced skip ahead to number 8. 7. Set your Camera to Aperture Priority Mode when you take a photo with your camera a little diaphragm inside your lens opens and lets light in. Aperture or F-stop refers to how wide this diaphragm opens. Here's where it gets tricky; the lower the f-stop number, the wider the diaphragm is. Here's an illustration
When the aperture is open wide your camera is able to take in the most light, it also shortens the depth of field meaning how much of the photo is in focus. When you're taking photos of people you'll usually only want them to be in focus and not the whole room so a short depth of field is a good thing. So, in aperture mode (usually represented by an A on the wheel on top of your camera) set your f-stop to somewhere around 2.8 or as low as your lens will go but not lower since it can be hard to get everything you want in focus any lower. Then, set your ISO to 200 if you're inside. Your camera will automatically set the shutter speed to go with your other settings. If the shutter speed in any lower than 1/125 move your ISO higher. Keep going until you reach an acceptable shutter speed. That's all! Snap away
Experienced Shooters: 8. Set your Camera to Manual! In manual mode you'll have complete control over everything in your photo, it can be a little overwhelming at first but its the best way to get awesome pictures. 9. Set your aperture and shutter speed! if you're not sure what an aperture is, read number 7 and come back. Shutter speed is how long your shutter or diaphragm stays open. a shorter shutter speed like 1/250 freezes the action and lets in less light, a longer shutter speed like 1/15 lets in more light and blurs the action. you'll want to find a balance between the two and your ISO and get exactly what you're looking for. Try a large aperture and short shutter speed for portraits like f 2.8 and 1/200. Depending on your lighting situation you may have to play around with that. if you have your aperture as wide as it goes and your shutter speed still has to be too low try raising your ISO. You can see whether your settings are right without taking a photo. Either on the back of your camera or when you look through the viewfinder you'll see something like this
That little triangle will point to where your settings will put your photos on this graph. whether you're over exposed (too bright), under exposed (too dark) , or just right. You'll want to be anywhere between 0 and just under +1.
10. Change Shutter Speed first, then Aperture, then ISO! Having trouble getting your settings right? make changes in the order above. Shutter speed first, if your photos are too dark lower your shutter speed but make sure not to go below 1/100 for portraits especially of kids who aren't known for sitting still. If they're especially rambunctious your may even need 1/125. If your photos are too bright raise the shutter speed, as long as you're not getting under exposed you really can't go too high in shutter speed. Next change your aperture, if your photo is too dark you can make your aperture wider but remember, try not to go too much past 2.8 or you might not have enough depth of field to get the whole face in focus. If your photo is too bright make sure you try shutter speed first because changing your aperture will have an actual effect on how your photo looks aside from just making it darker. I wouldn't go above f-stop 5.2 for portraits. If all else fails change your ISO. Remember, the higher the ISO the less light you need but the more noise you get so go only as high as you have to. Typically, anything over 800 is going to be Very noisy. That's it, Snap away. If you have any questions, Feel free to ask in the comments and I'll do my best to answer you. And if this helped you please share us on Facebook, Pinterest, Twitter, or anywhere else
What is the Golden hour
The Golden hour is that magic time twice a day when we all look our absolute best in photos. Approximatly one hour after sunrise and one hour before sunset when the sun is low in the sky. What makes golden hour light so great?
What if I can't schedule my photos during golden hour!?
No worries. While the golden hour really is ideal its not always possible to take photos then. But there is something you can do to mitigate those middle of the day issues, find some open shade. Open shade is a large area of uniform shade. You can use shade from a tree but be careful for stippled light coming through the branches like in the photo below.
make sure to set the white balance on your camera to shade so that your photos don't come out too blue. You can get beautiful photos in open shade but try to occasionally get out there during the golden hour, you won't regret it.
Don't forget to enter the Contest to win a Mini Session on our Facebook page. There's only three more days to enter!!
I promised it and here it is! more info on this years Christmas mini sessions. This year I've chosen two dates October 24th and November 14th! Both days have a total of 7 available appointment slots so they will fill up fast! Available times are 9:00 AM, 9:30 AM, 10:00 AM, 5:00 PM, 5:30 PM, 6:00 PM and 6:30 PM. For $50 you'll get the whole half hour with me and a CD of all your photos plus the option to buy some custom Christmas cards with your photos on them. To book your mini session just send me an email through my contact me form on my website or call me at (352)422-0798.
And to celebrate my first Christmas back in Florida after 6 years I'm giving away one Christmas Mini Session!! To Enter go to My Facebook page, Share my post about this blog and comment telling me why you want a mini session. The Winner will be chosen in one week on October 13th!! Jennifer and Julie were married in a beautiful ceremony on Saturday September 26th 2015 and I was there to witness it! Take a look at a few choice photos from the evening.
I know, Christmas seems so far away and its ridiculous to talk about it since its not even Halloween yet but it really is coming sooner than you think. If you plan to send out photo cards this year its time to start planning! I’ll be announcing when and where mini sessions will be soon and you’ll want to book one before all the slots are full. Mini sessions will include 30 minutes with the photographer and a Cd or thumb drive containing 15-25 photos. I’ll also design some Christmas Cards containing your photos that you can choose to buy or not. All this for only $50!! So, be on the lookout for more details!
|
AuthorKarah Couch is a Maternity, Newborn, and Family photographer and mother of Seven year old twins and a rambunctious Four year old Archives
May 2022
Categories
All
|