 |  |
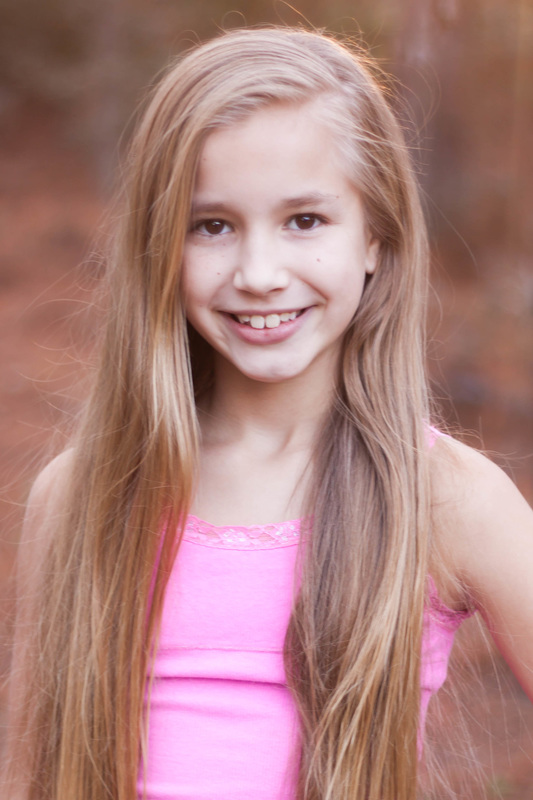
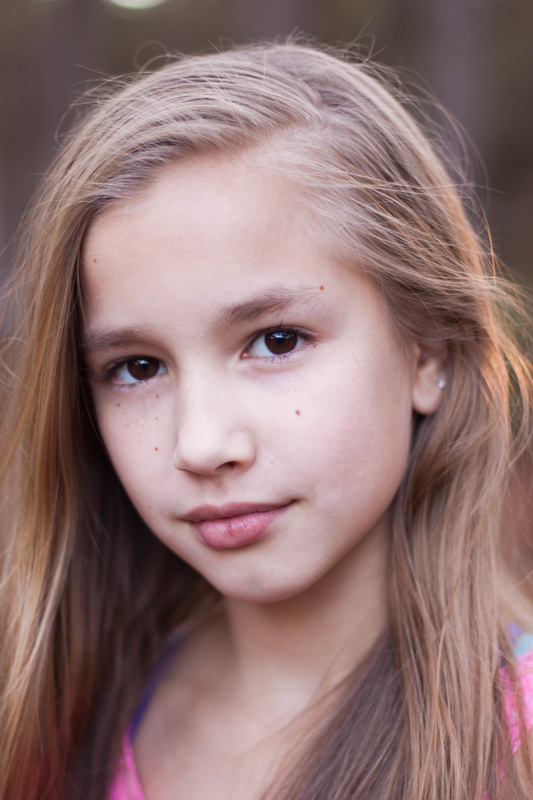
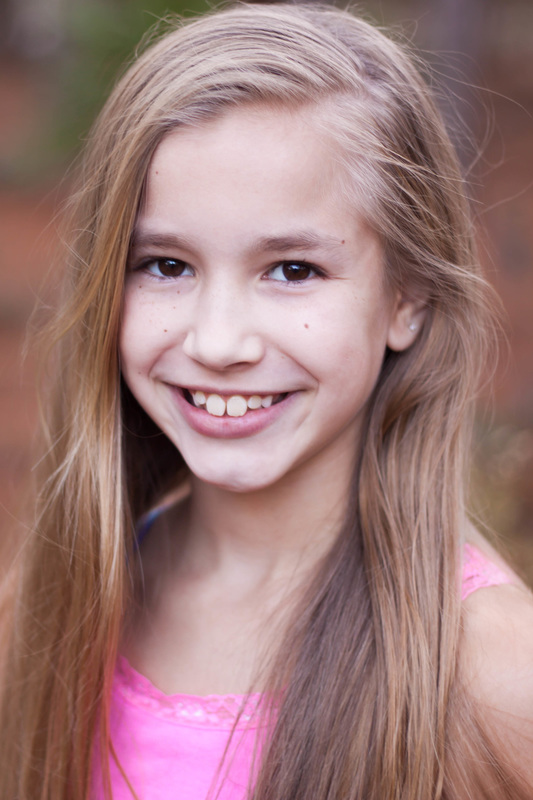
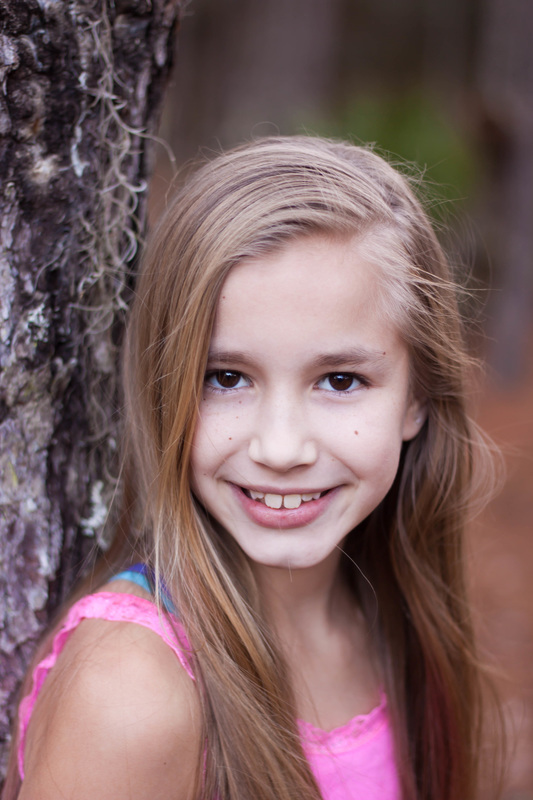
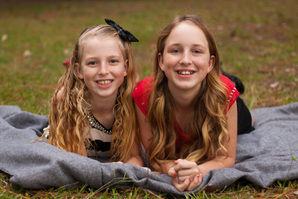
Remember this face because you might be seeing her on TV before you know it. I had a great time photographing this little lady in Citrus Springs.
  |   |
 |  |
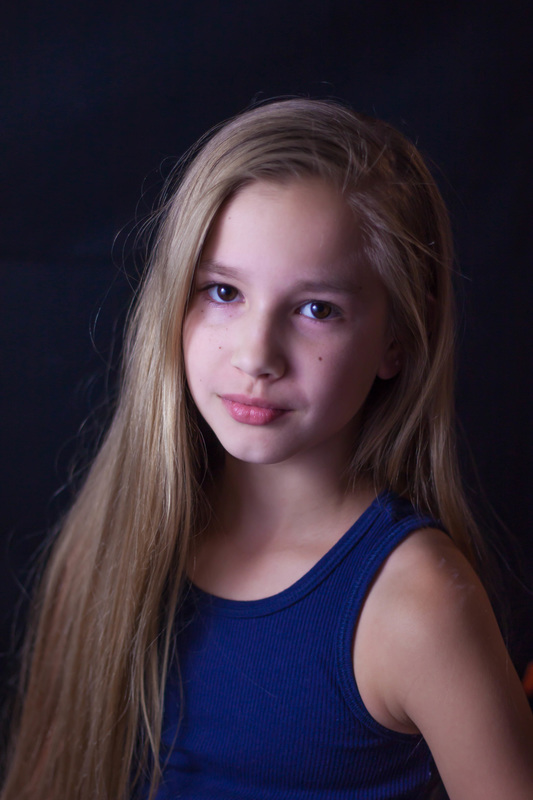
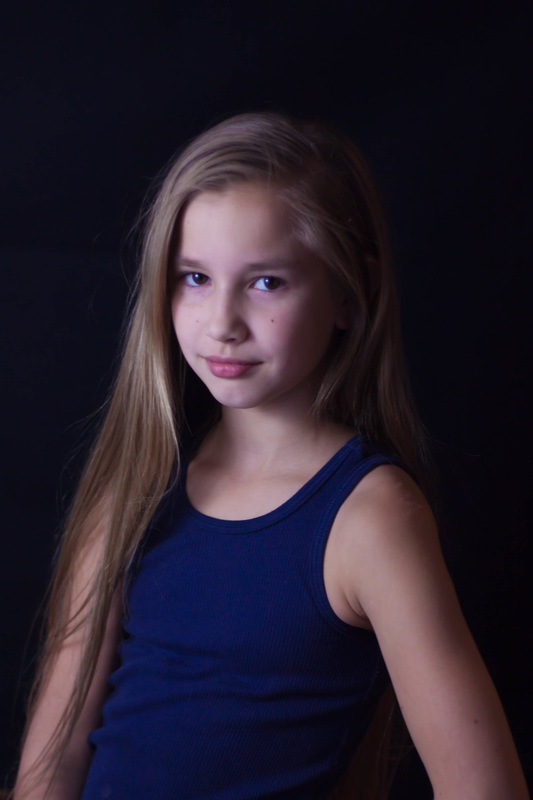
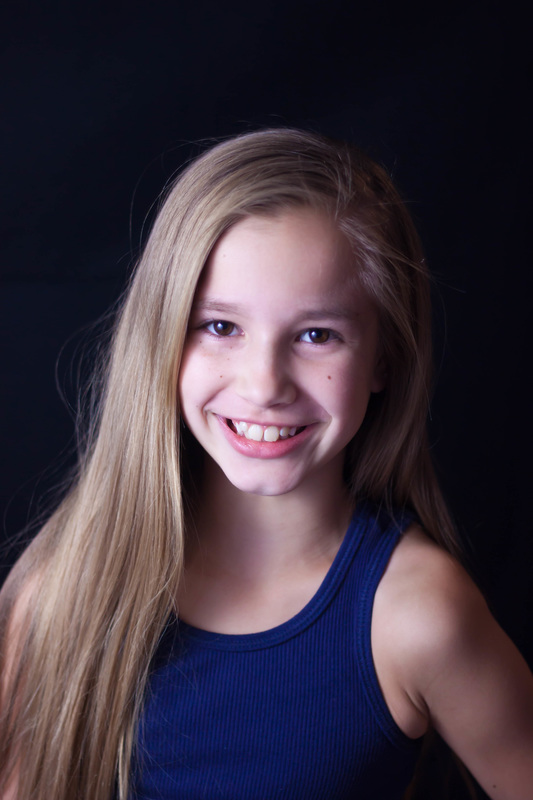
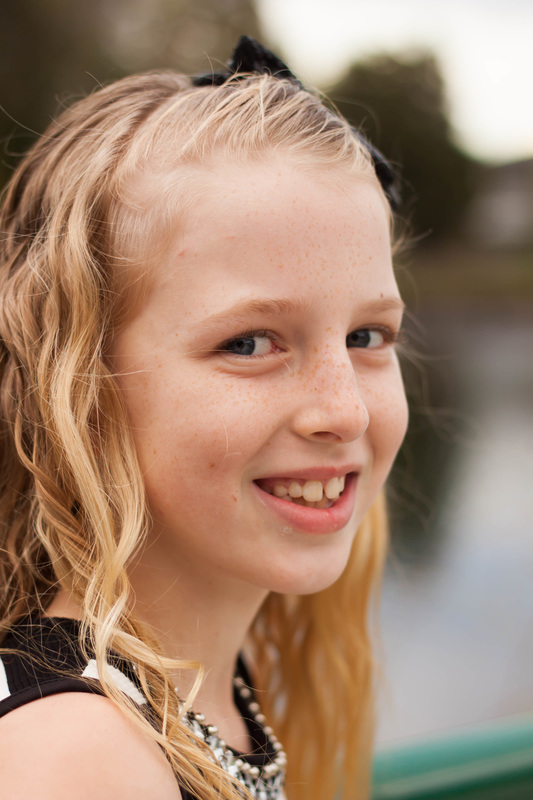
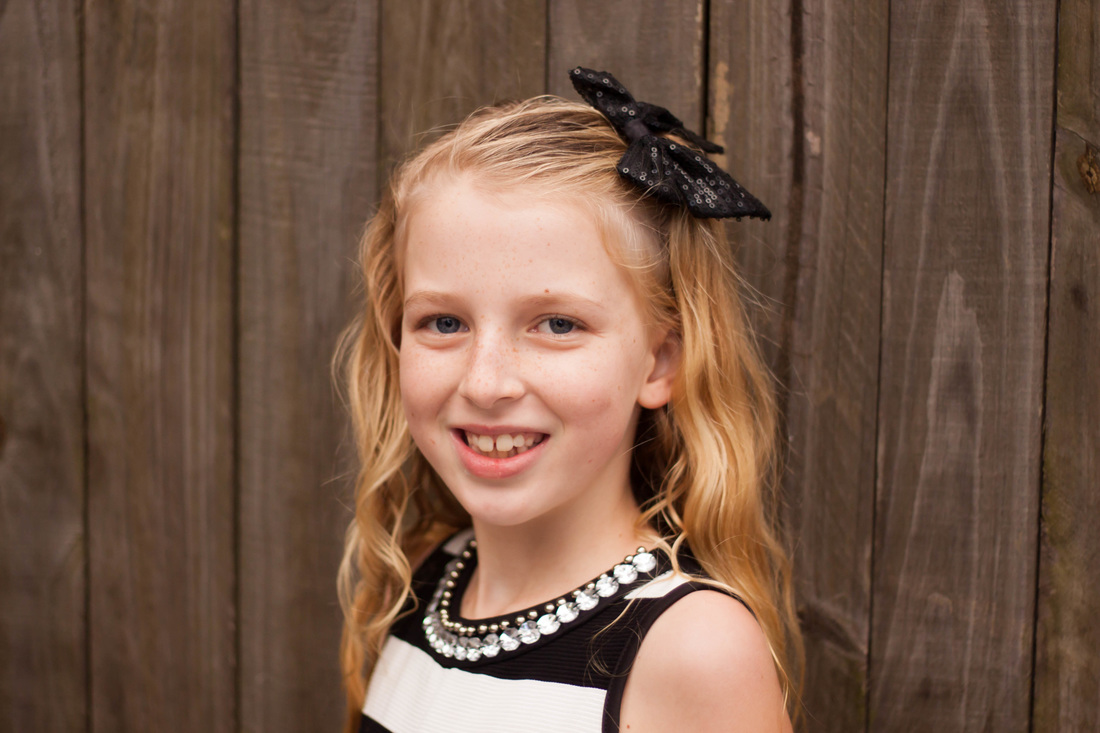
Remember this face because you might be seeing her on TV before you know it. I had a great time photographing this little lady in Citrus Springs.
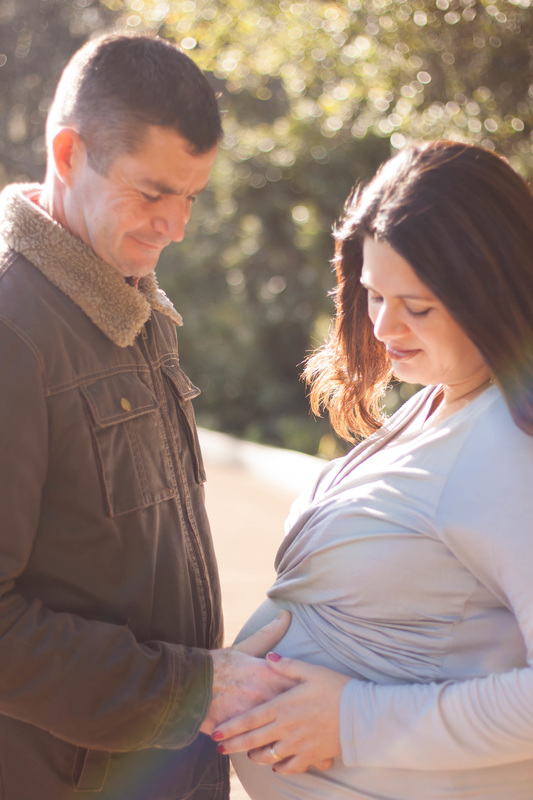
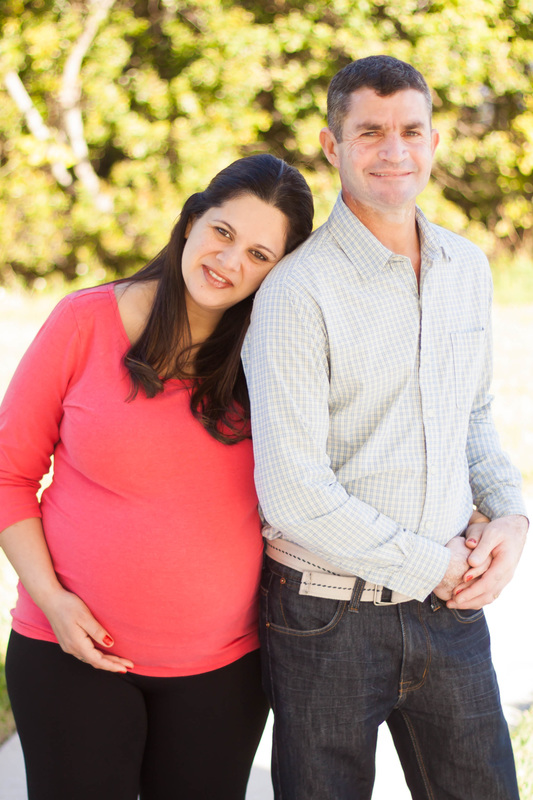
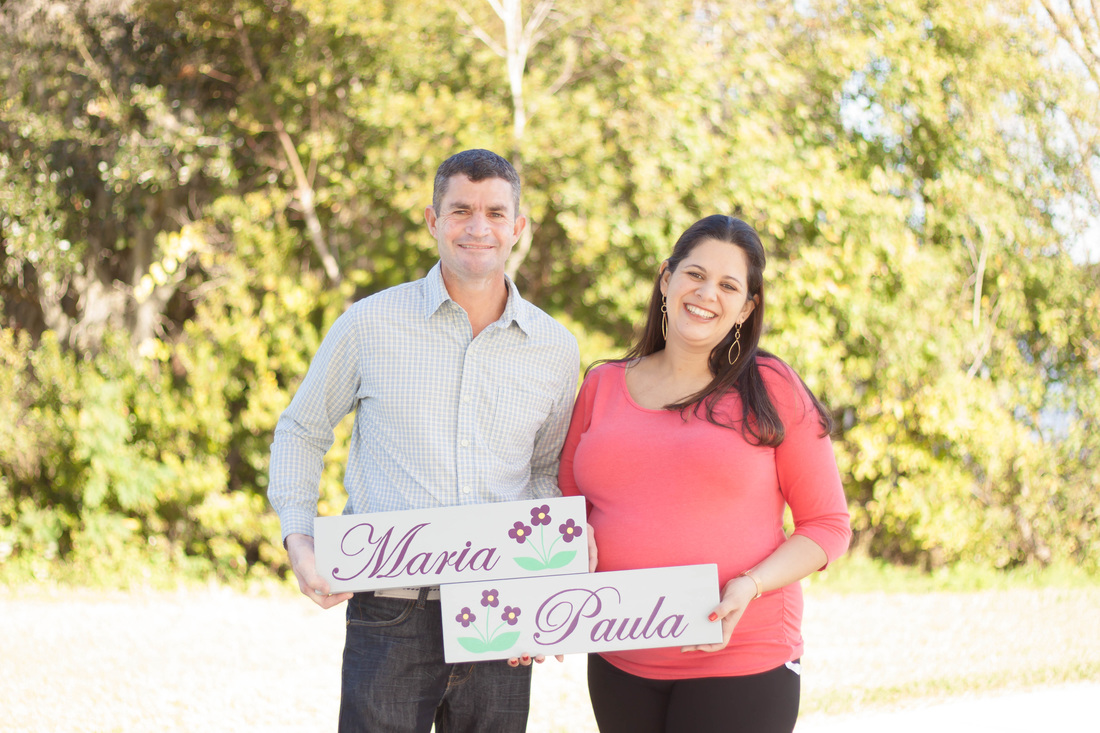 I photographed the Ramos Family near their home in Lakeland Florida the other day and they were absolutely delightful. They just moved to Florida and say they're excited to be somewhere with beautiful weather and friendly people and can't wait to welcome their baby girl in just over five short weeks!

 I met this family at Kings Bay Park in Crystal River FL on Friday.
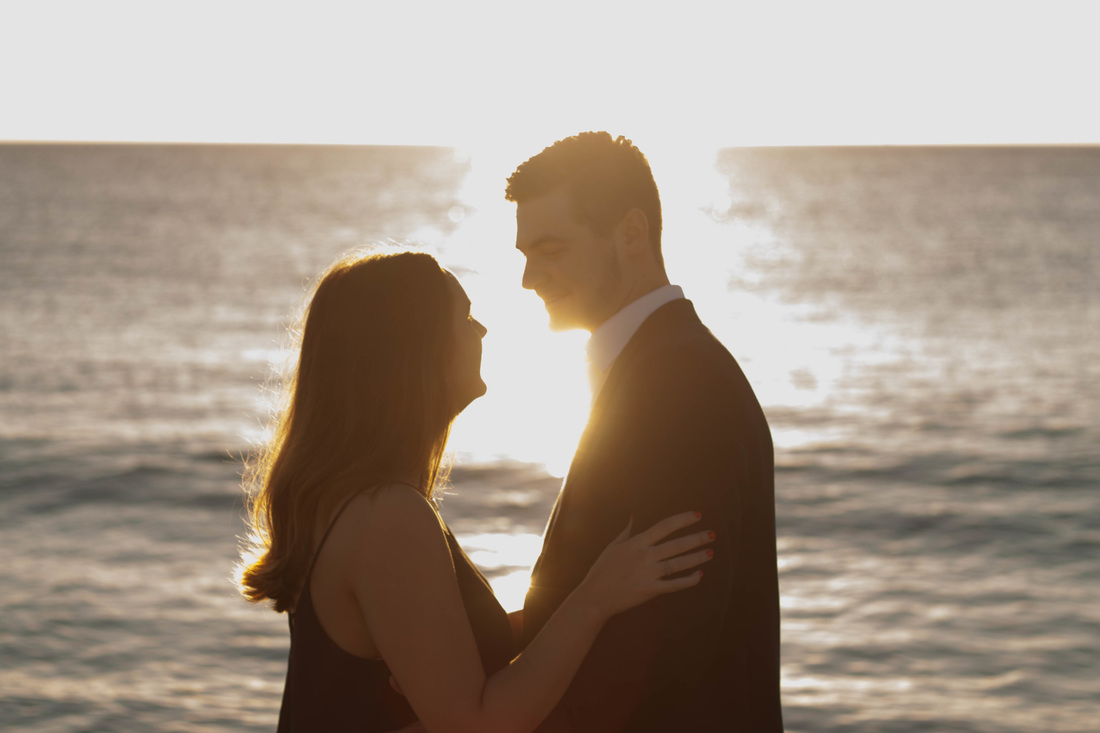
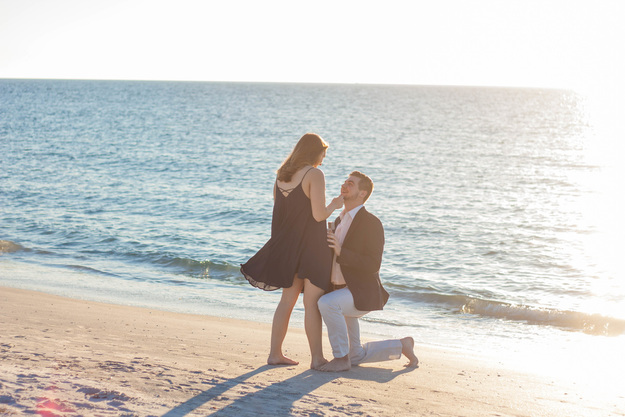
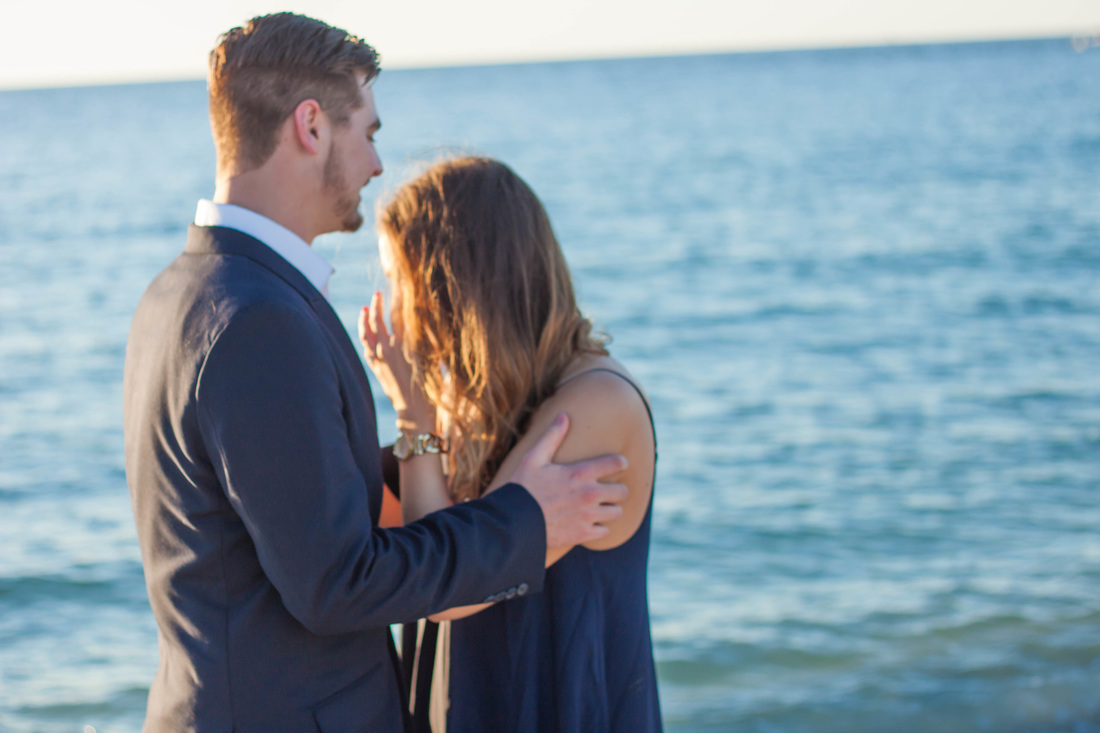
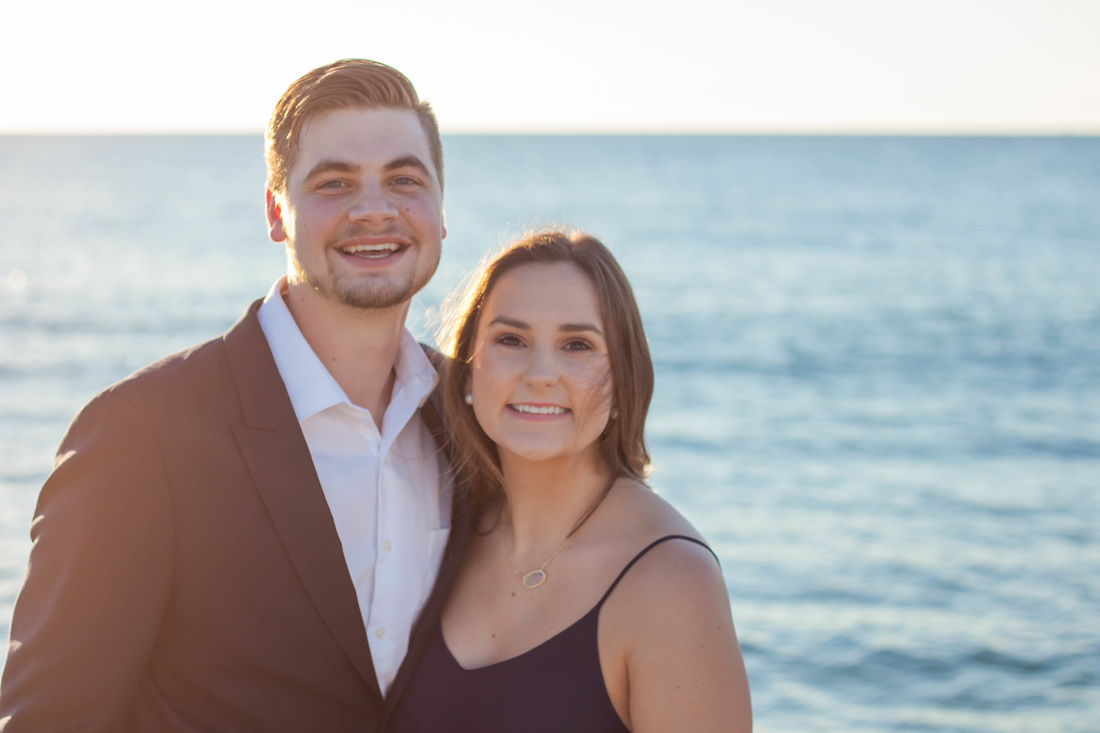
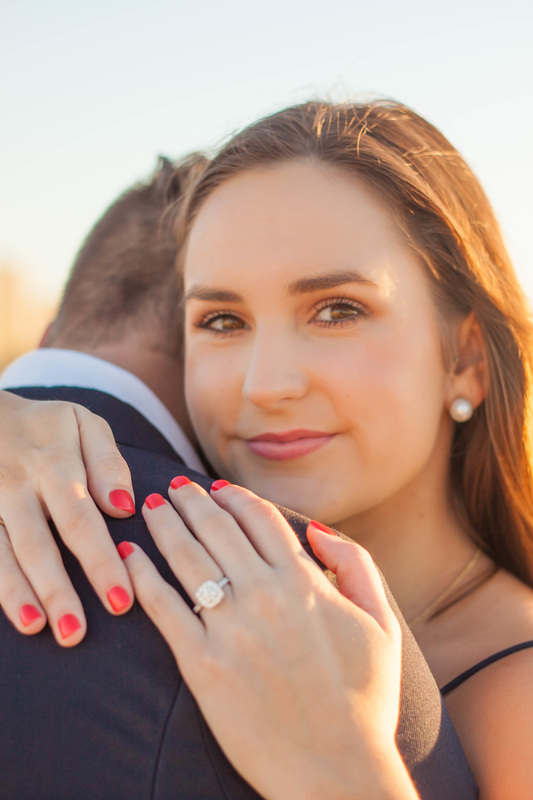
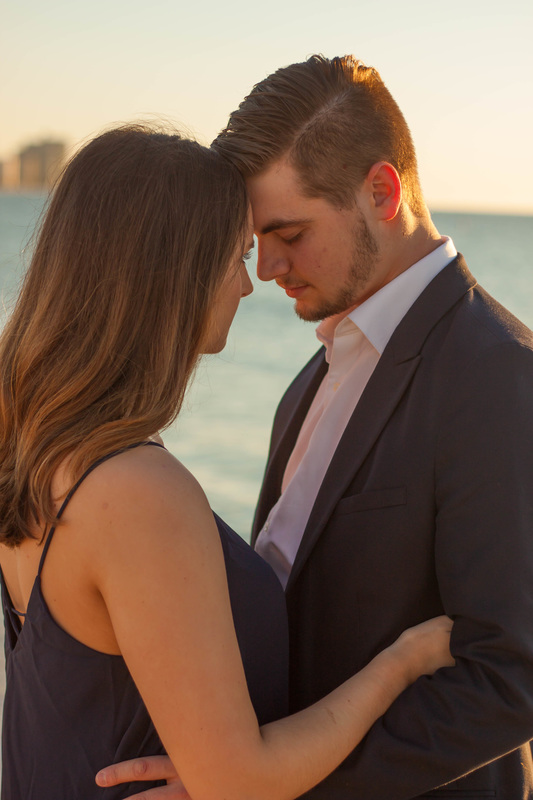
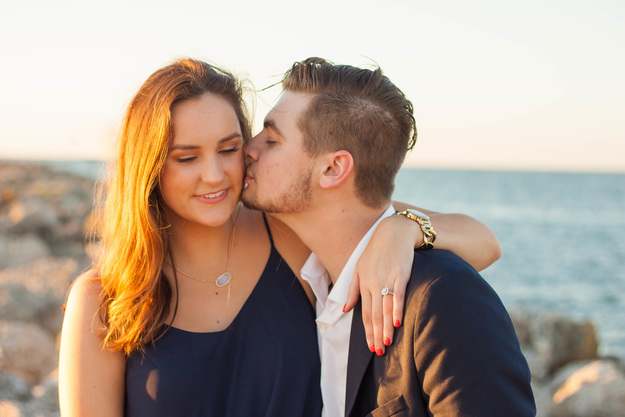 I was so excited for this one. Donald contacted me to capture the very special moment when he proposed to his girlfriend (spoiler Alert, now Fiancee) at Sand Key Park in Clearwater. I hung back as they walked along the beach and she never noticed her paparazzi as he proposed. Afterward I shot a few more photos of the happy couple
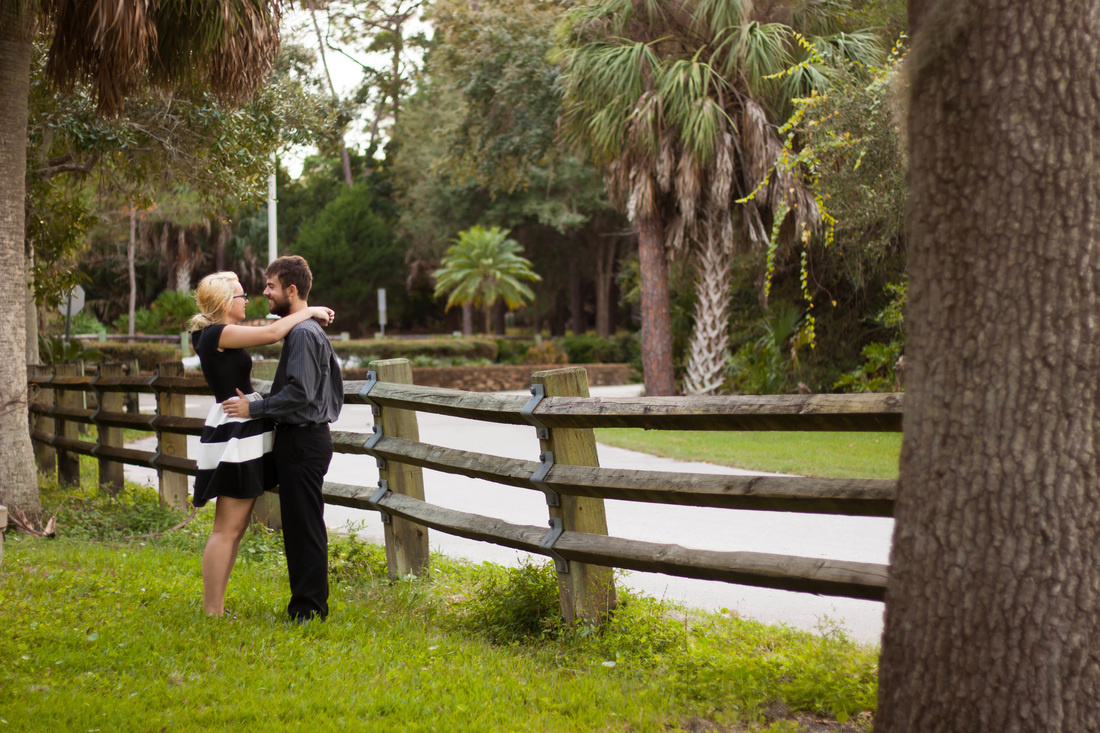
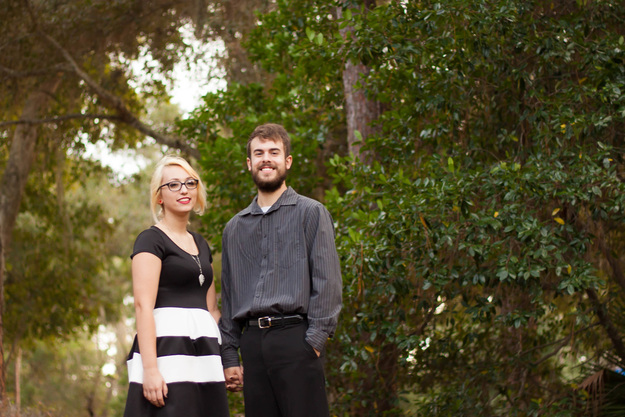
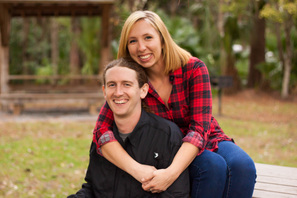
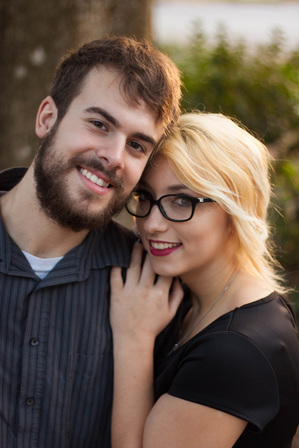
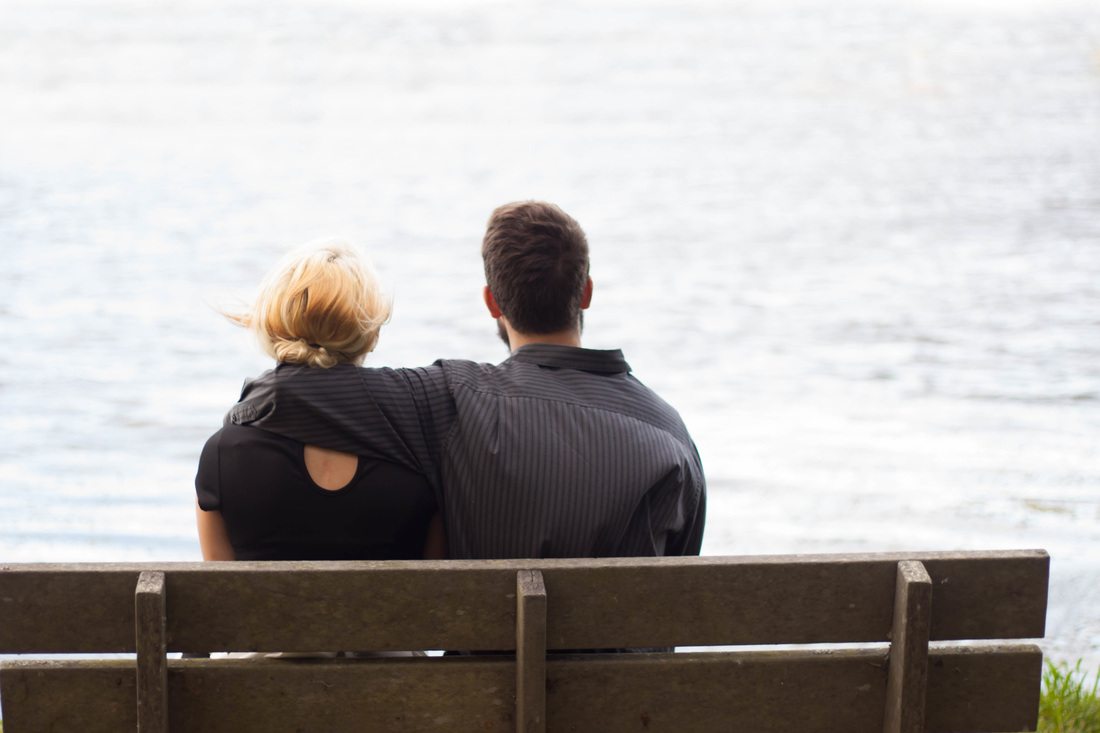
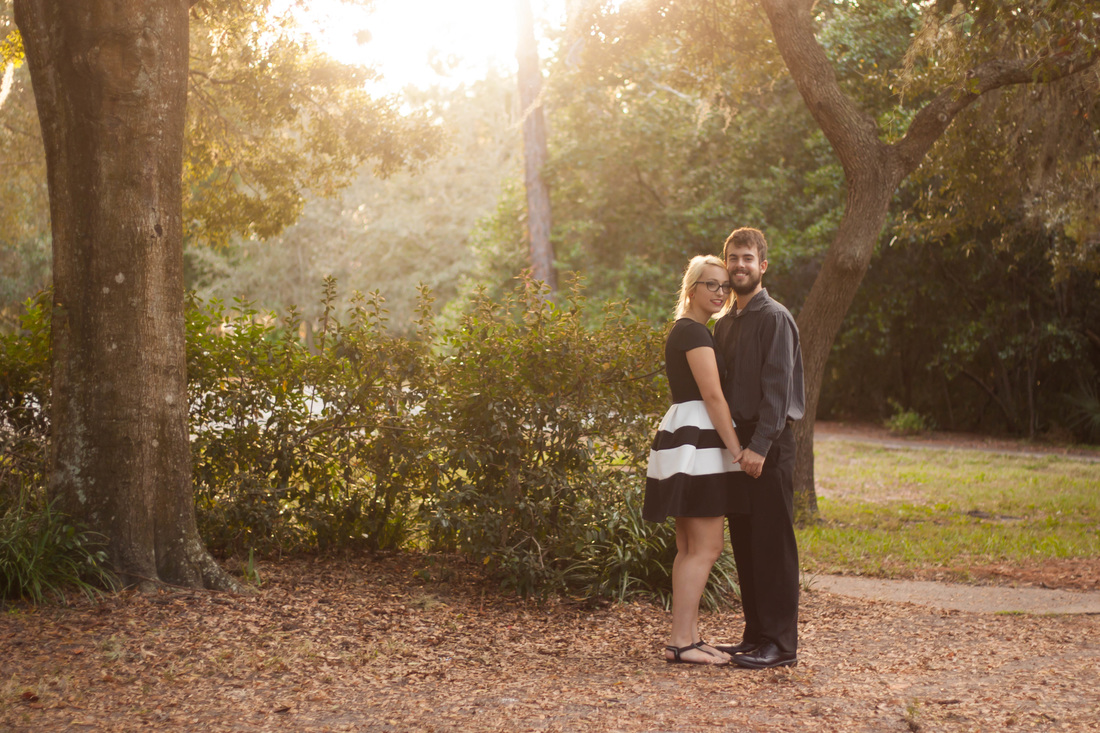
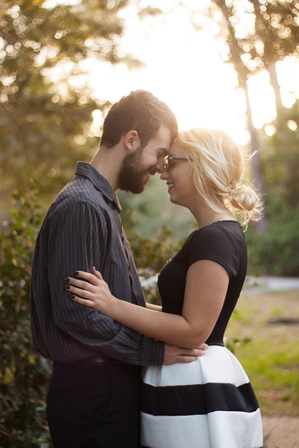
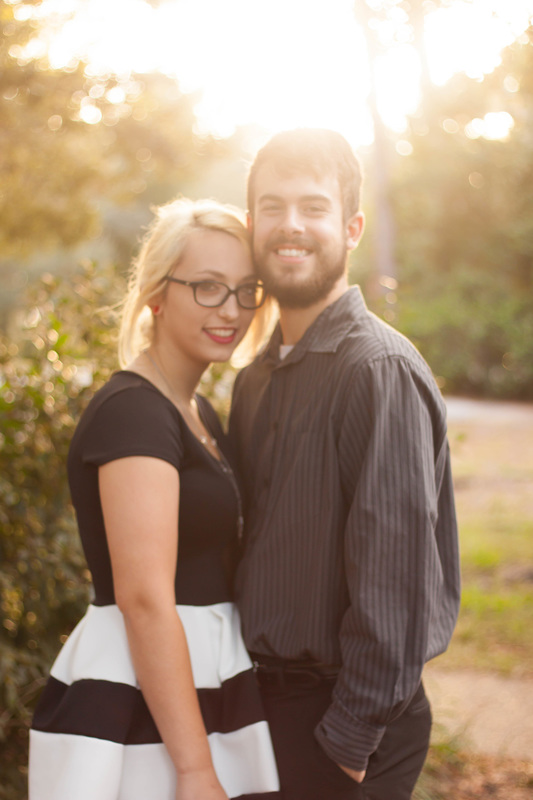
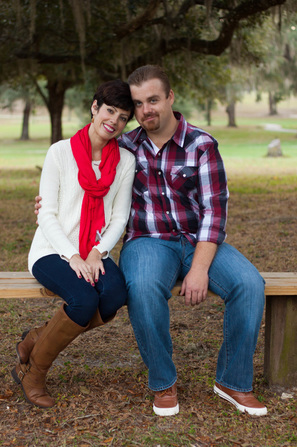
 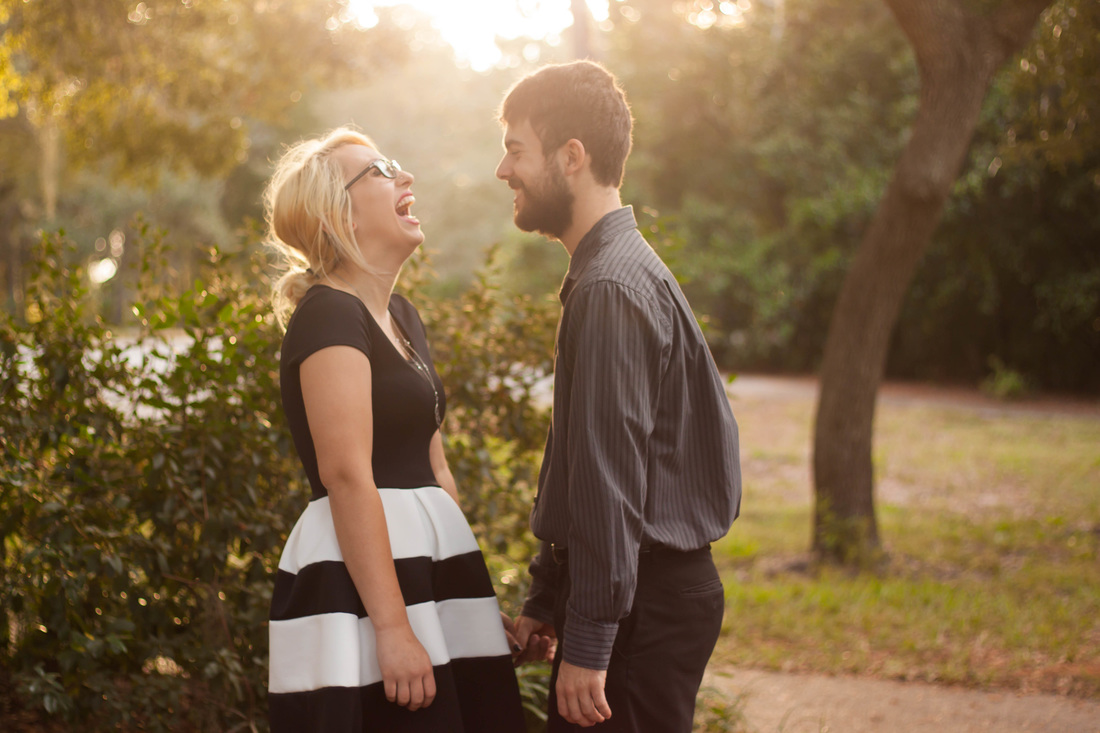 I shot this fun and photogenic couple at A L Anderson Park in Tarpon Springs
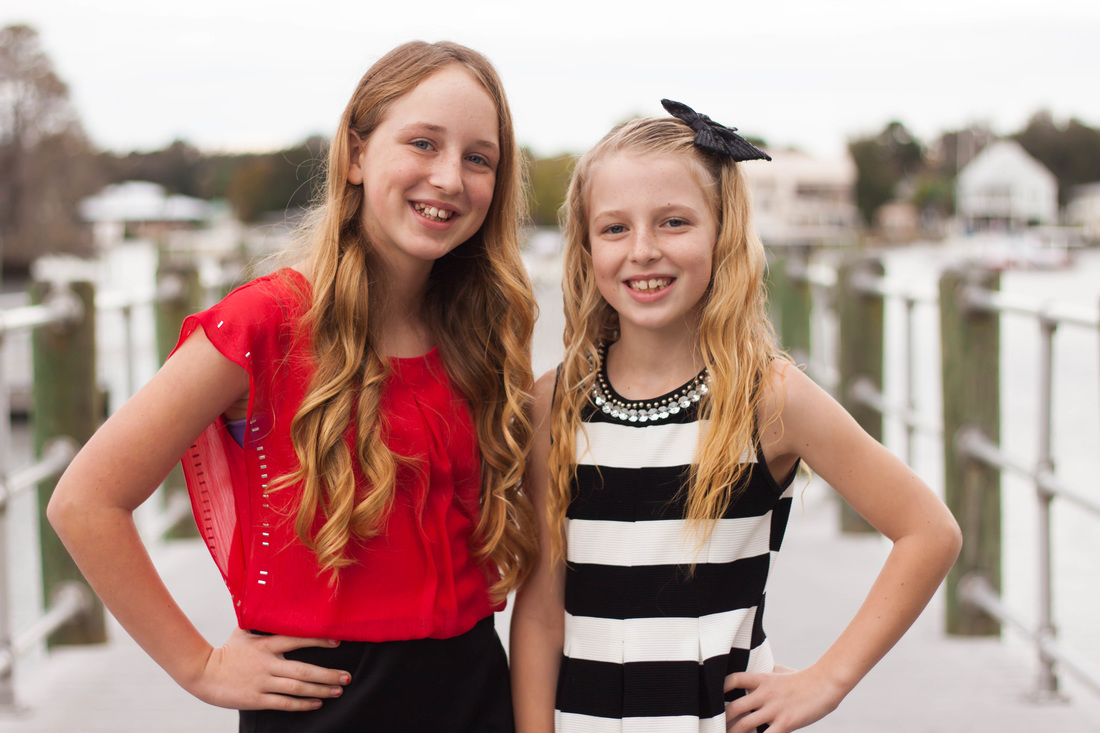
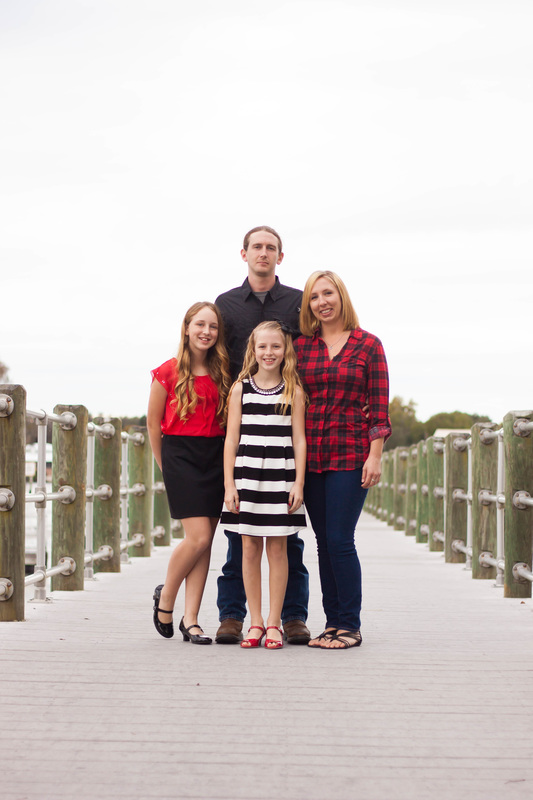
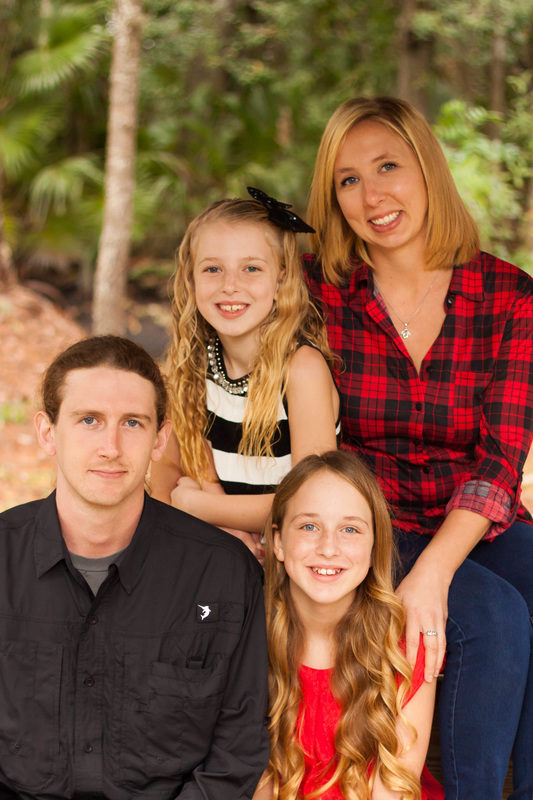
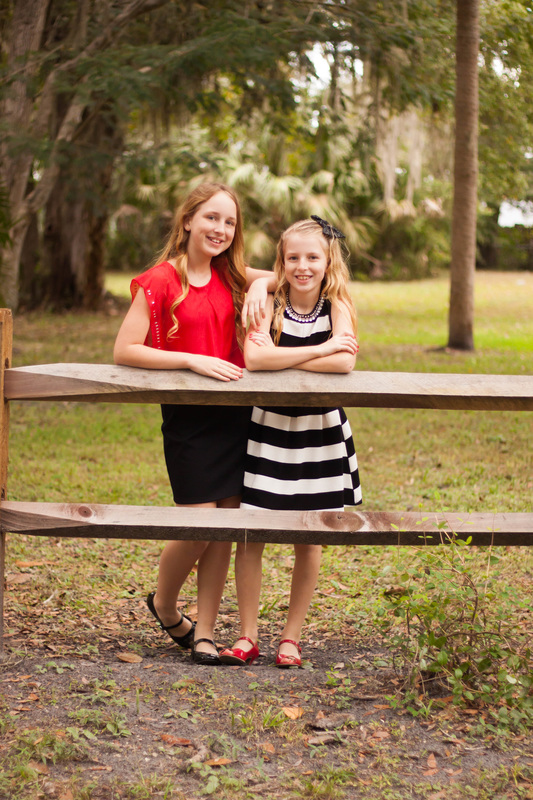
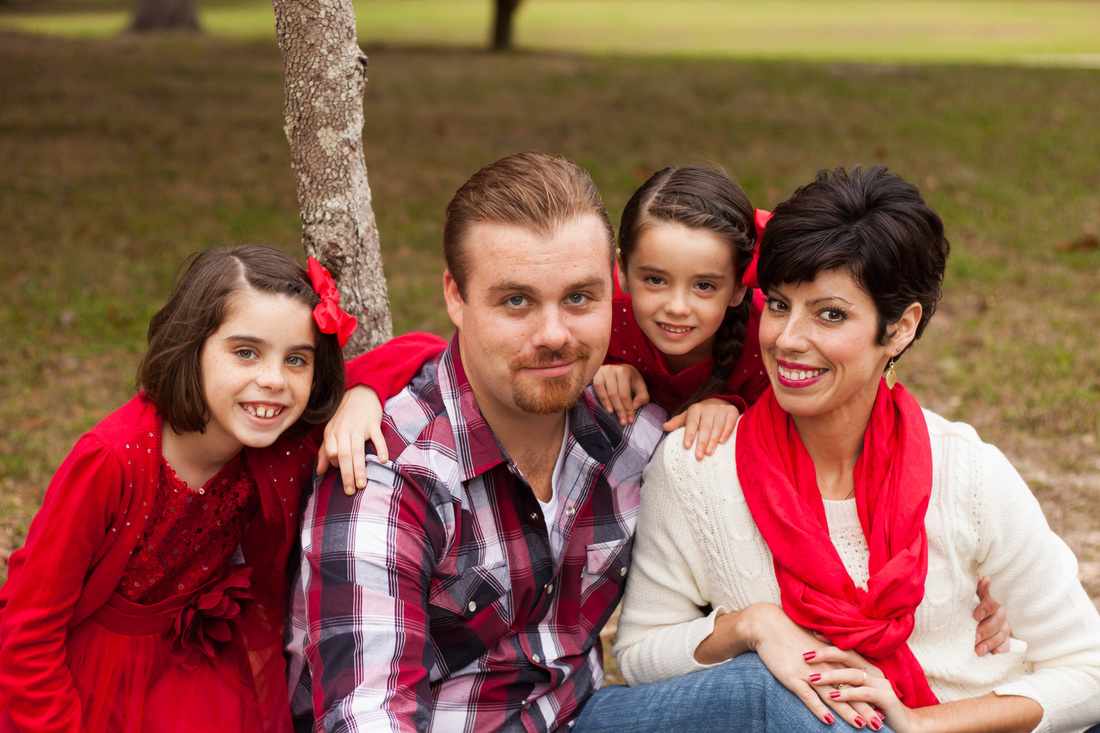
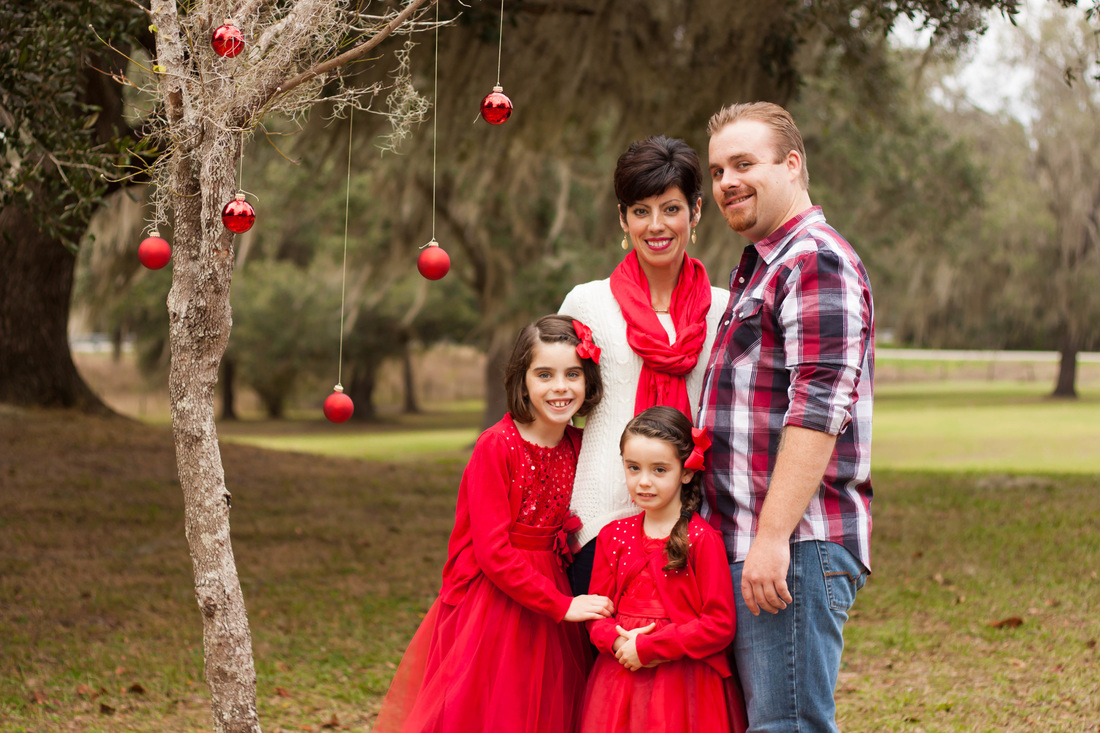
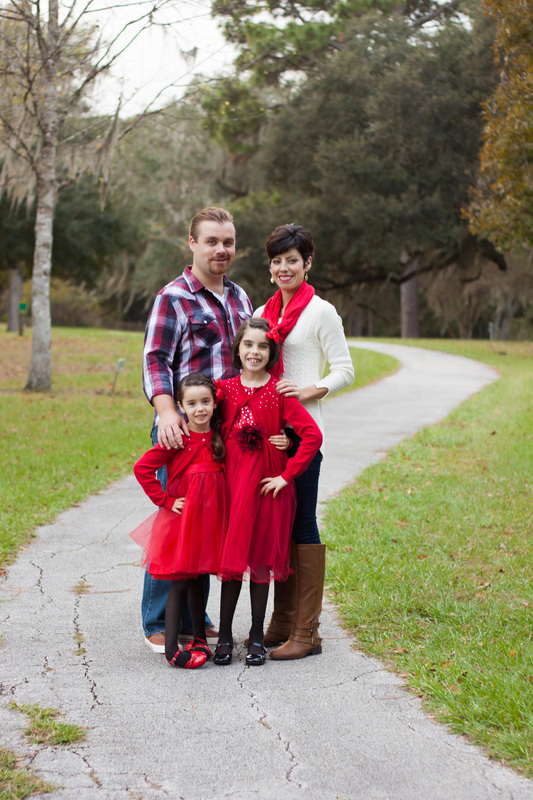
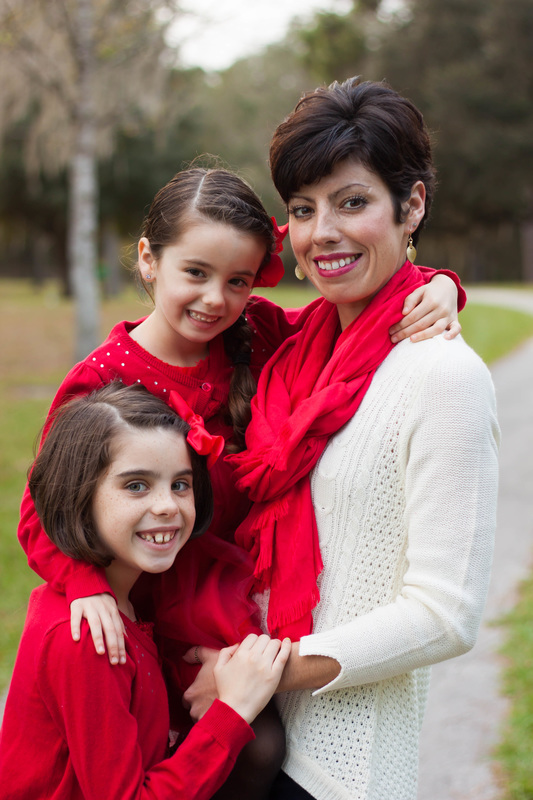
  This Beautiful family was photographed at Floral Park in Floral City the other day. The girls were real troopers even when it started to drizzle. Luckily the weather cleared and we were able to get some great family photos right in time for Christmas

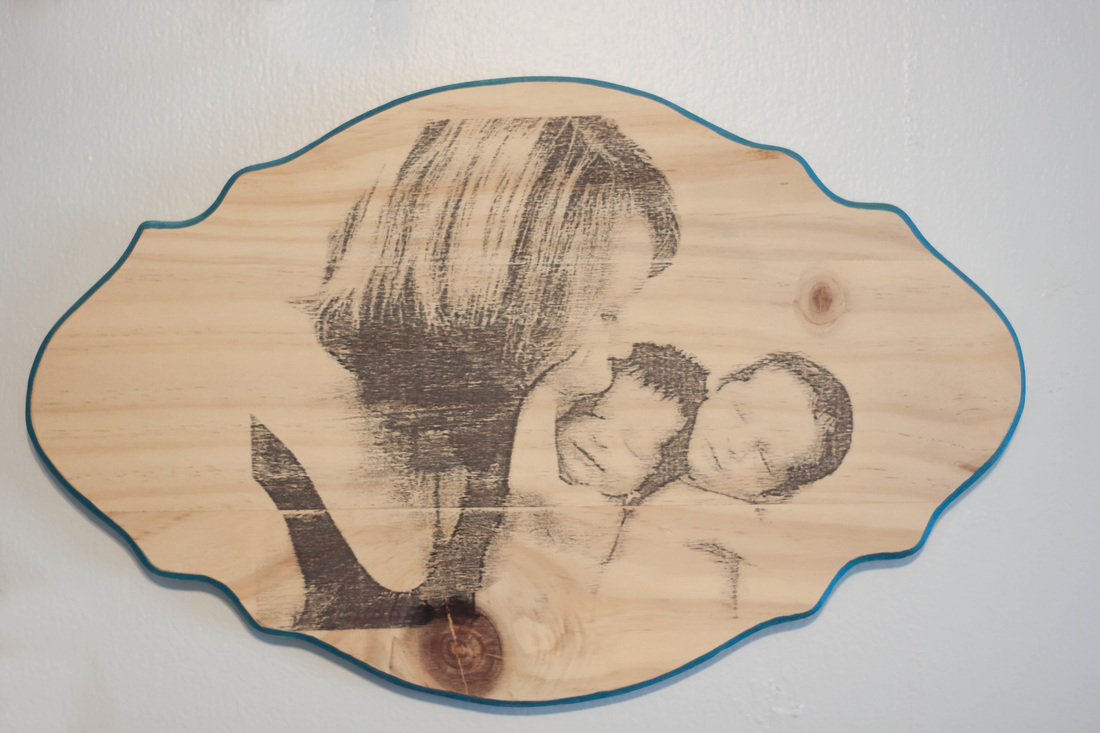 With the holidays fast approaching, and already upon us for some, it can be hard to find heartfelt gifts for everyone on your list. So, for you DIYers out there I've decided to post a step by step tutorial on how to make your very own wood block prints. They're beautiful and have always been loved by everyone I've given one to. What You'll Need
choose a photo. You'll want something simple without too much to distract the eye. I chose the one below to use as an example.  Step Two: upload your photo into editing software of your choice. if you don't have one try downloading Gimp, its free and it'll get the job done Step Three: Convert your photo to black and white and increase the contrast by A LOT! You want about as much contrast as you can get because you want the printer to put a lot of ink on your transparency paper. Here's an example or about what it should look like before you increase contrast and after
Step Four: Prepare your work area. remove any packaging or stickers from your wood and place it and your paint scraper or ruler on a flat surface near your printer. Place transparency paper in the printer and print your photo onto it. Step Five: Quickly place your transparency paper ink side down onto your wood. Using one hand to hold transparency firmly in place use the paint scraper or ruler to press the ink into the wood. Make sure to go over every part of the photo because anything not pressed into the wood will not take. Step Six: Very carefully remove the transparency from the wood and place it aside. allow your photo to dry fully. Step Seven: Once your photo is completely dry spray the sealant over the entire photo and allow it to dry as well. 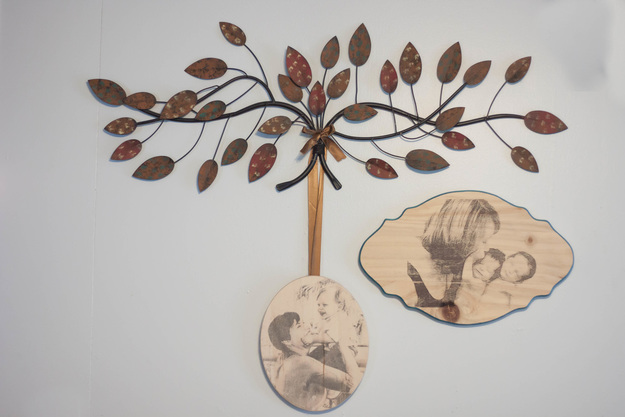 That's it! You now have a beautiful gift for anyone on your list. Some of you may be thinking, this sounds like a lot of work but I still want one of these. Well good news, I can make one for you from a photo I've taken for you or any other. Just drop me an email to set it up for $80.00 and get it in time for the holidays.
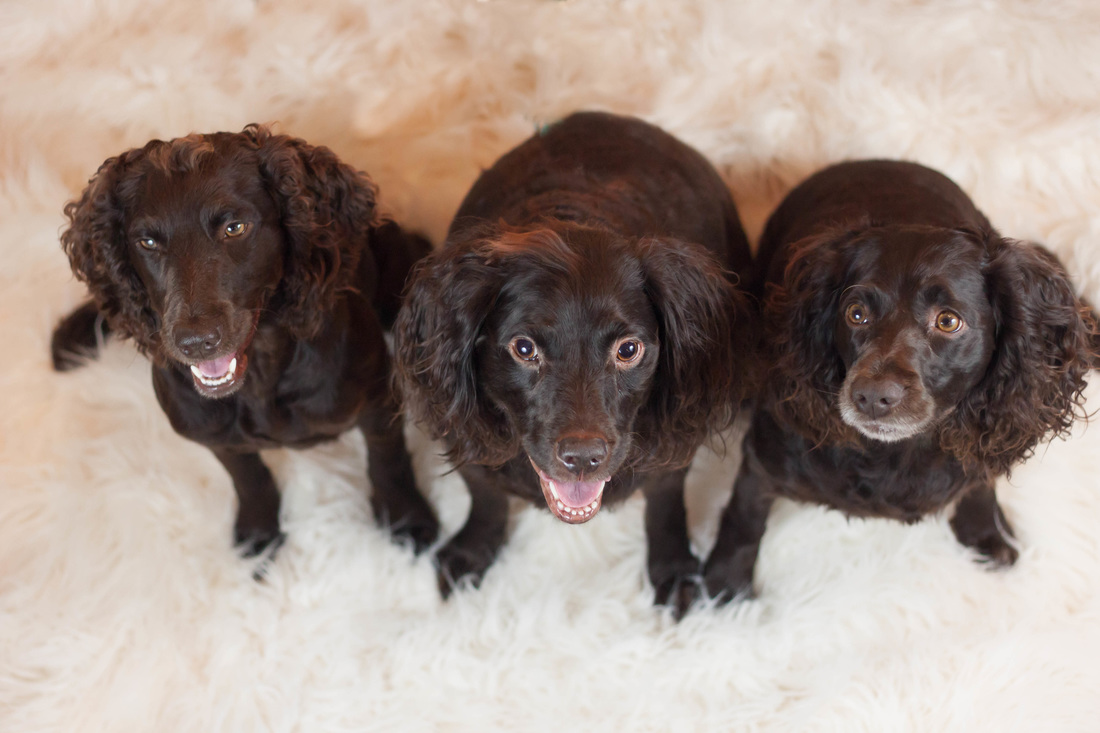
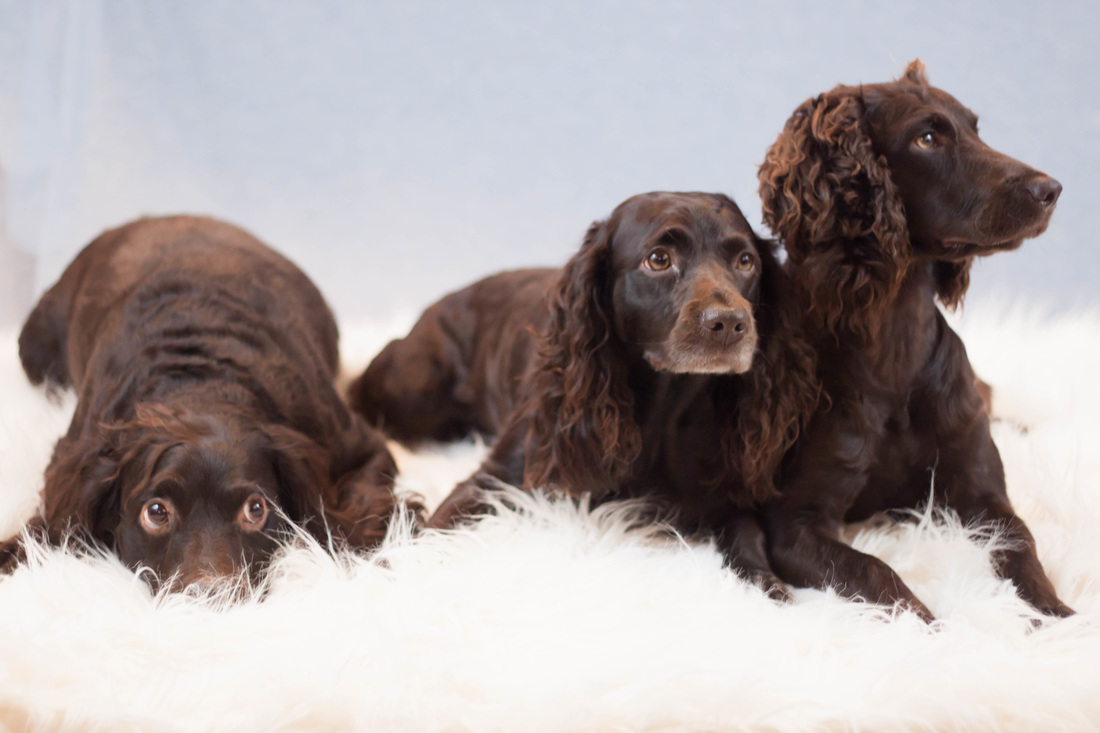
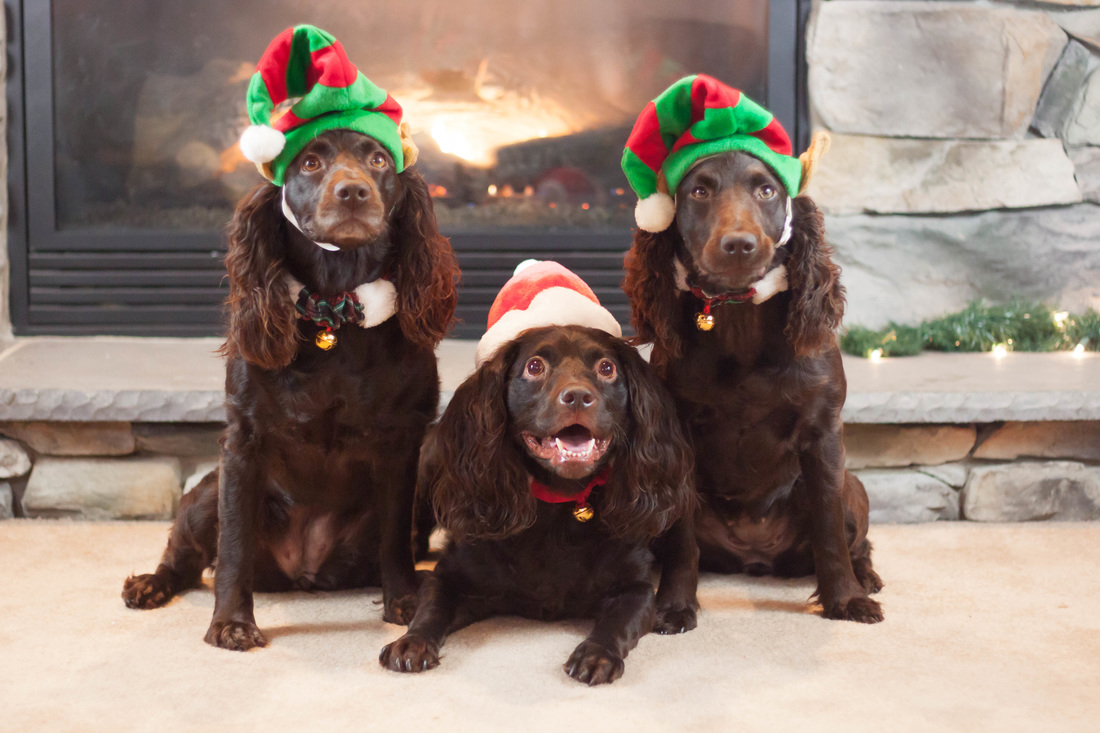
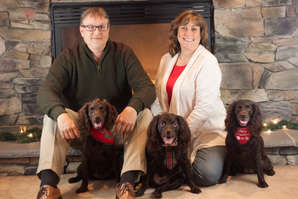
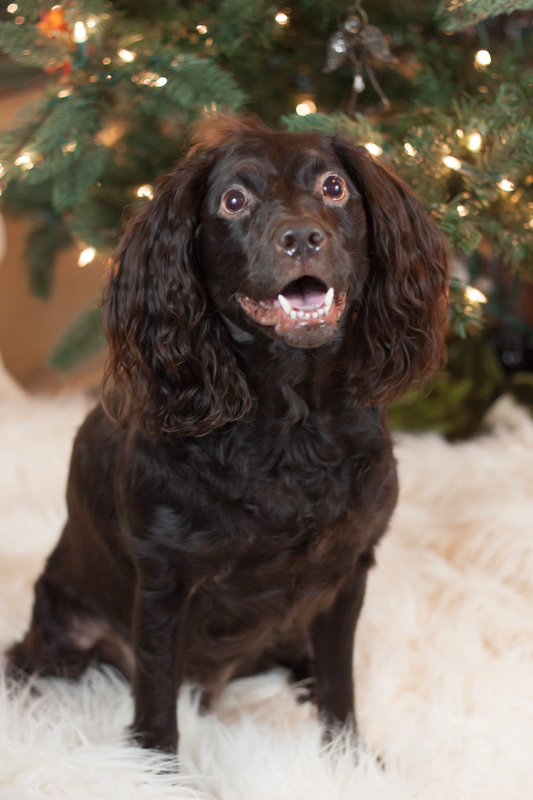
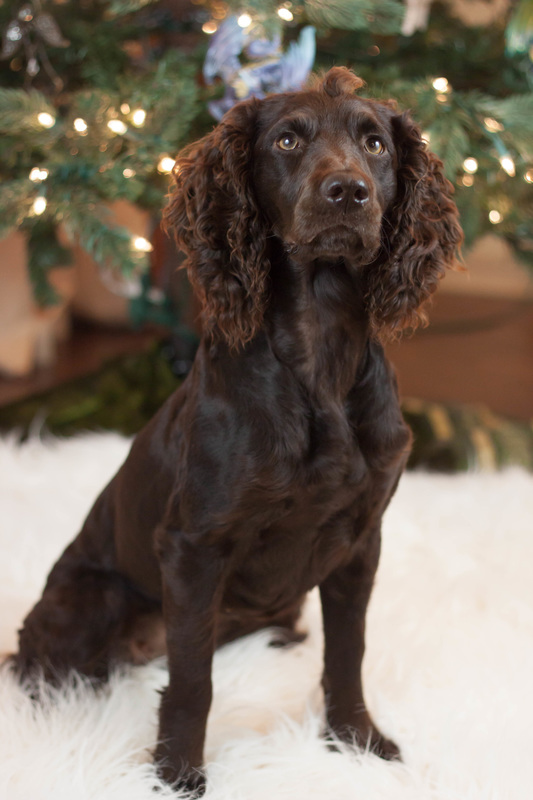
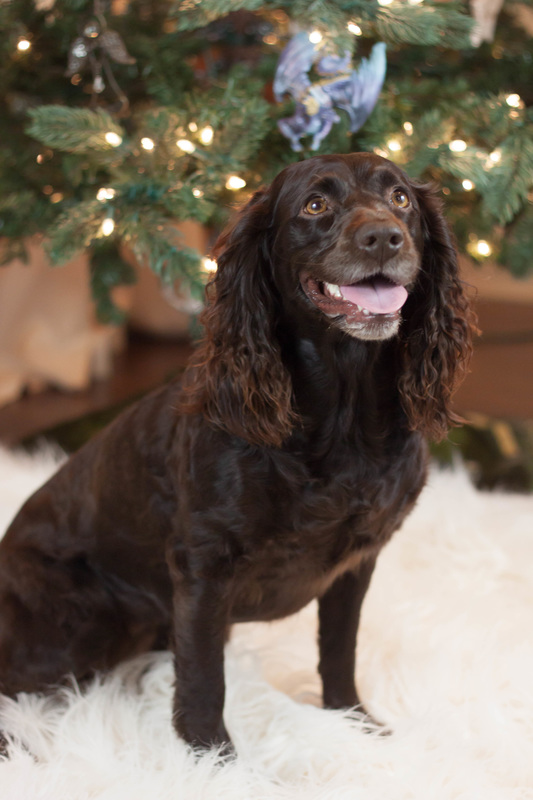
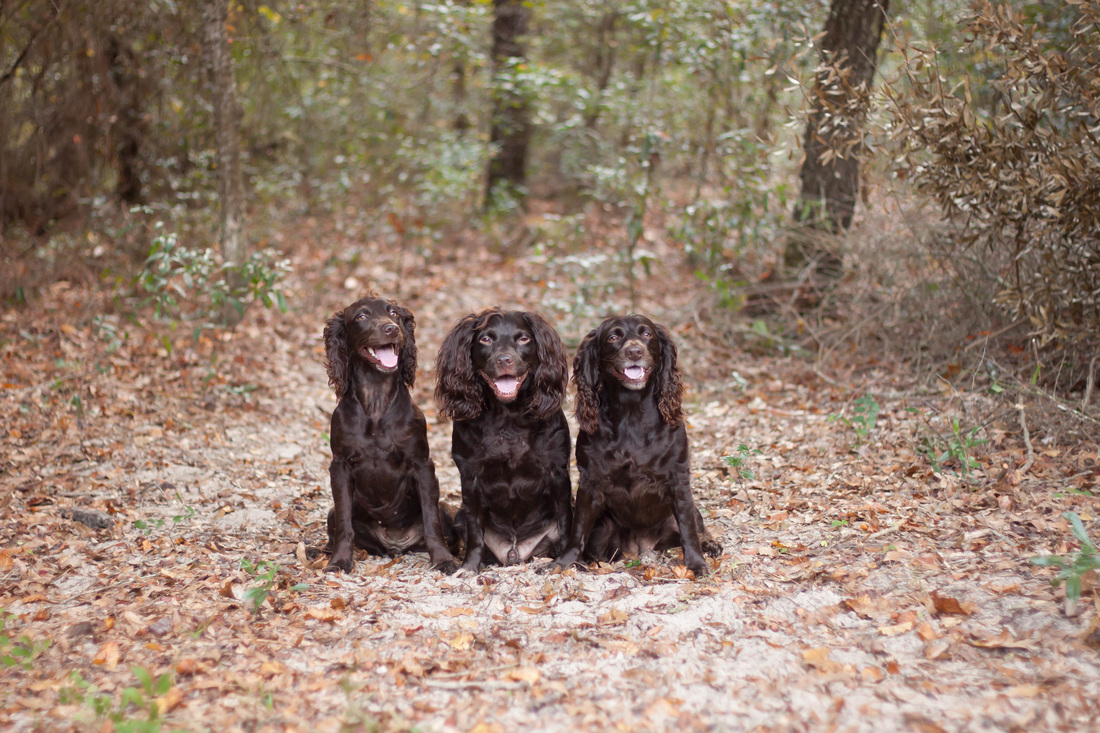 Its not often that one comes across three dogs who will sit still for a photo at one time but here we are! These gorgeous dogs are called Boykin Spaniels and I had the pleasure of shooting them at their home along with their humans in Lecanto Florida this week.
  |
AuthorKarah Couch is a Maternity, Newborn, and Family photographer and mother of Seven year old twins and a rambunctious Four year old Archives
May 2022
Categories
All
|


 RSS Feed