With the holidays fast approaching, and already upon us for some, it can be hard to find heartfelt gifts for everyone on your list. So, for you DIYers out there I've decided to post a step by step tutorial on how to make your very own wood block prints. They're beautiful and have always been loved by everyone I've given one to.
What You'll Need
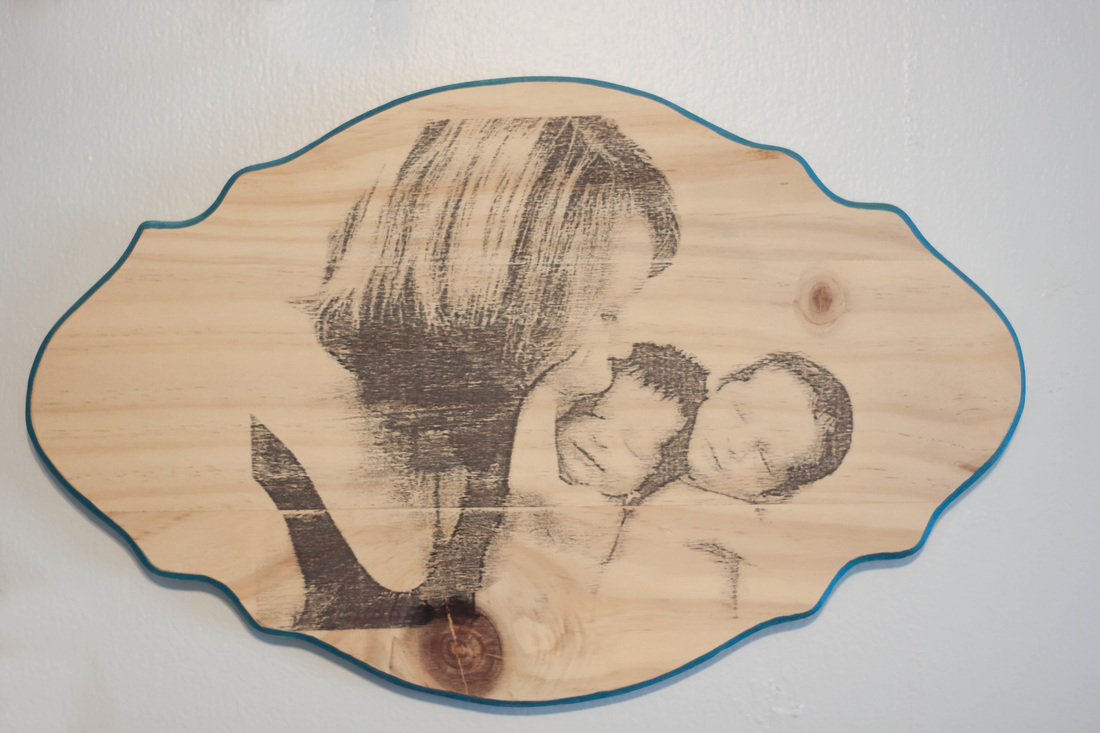
choose a photo. You'll want something simple without too much to distract the eye. I chose the one below to use as an example.
What You'll Need
- A wooden shape, or block, or ornament, or whatever piece of wood you want to put a photo on $5.00
- an ink jet printer
- transparency paper (like the kind teachers use. can be purchased at office supply stores) $59.99
- photo editing software
- clear craft sealing spray $6.99
- plastic paint scraper or ruler $1.50
choose a photo. You'll want something simple without too much to distract the eye. I chose the one below to use as an example.

Step Two:
upload your photo into editing software of your choice. if you don't have one try downloading Gimp, its free and it'll get the job done
Step Three:
Convert your photo to black and white and increase the contrast by A LOT! You want about as much contrast as you can get because you want the printer to put a lot of ink on your transparency paper. Here's an example or about what it should look like before you increase contrast and after
 |  |
Step Four:
Prepare your work area. remove any packaging or stickers from your wood and place it and your paint scraper or ruler on a flat surface near your printer. Place transparency paper in the printer and print your photo onto it.
Step Five:
Quickly place your transparency paper ink side down onto your wood. Using one hand to hold transparency firmly in place use the paint scraper or ruler to press the ink into the wood. Make sure to go over every part of the photo because anything not pressed into the wood will not take.
Step Six:
Very carefully remove the transparency from the wood and place it aside. allow your photo to dry fully.
Step Seven:
Once your photo is completely dry spray the sealant over the entire photo and allow it to dry as well.
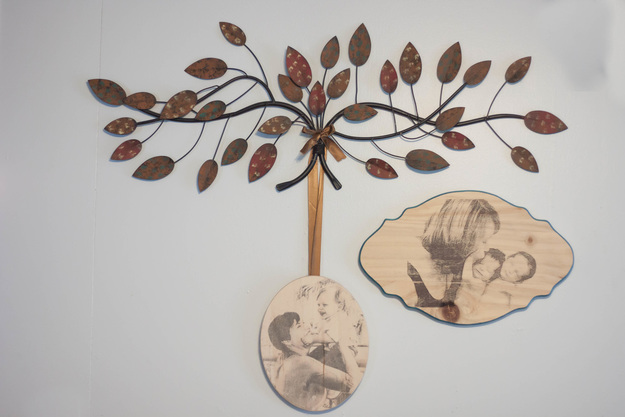
That's it! You now have a beautiful gift for anyone on your list. Some of you may be thinking, this sounds like a lot of work but I still want one of these. Well good news, I can make one for you from a photo I've taken for you or any other. Just drop me an email to set it up for $80.00 and get it in time for the holidays.
 RSS Feed